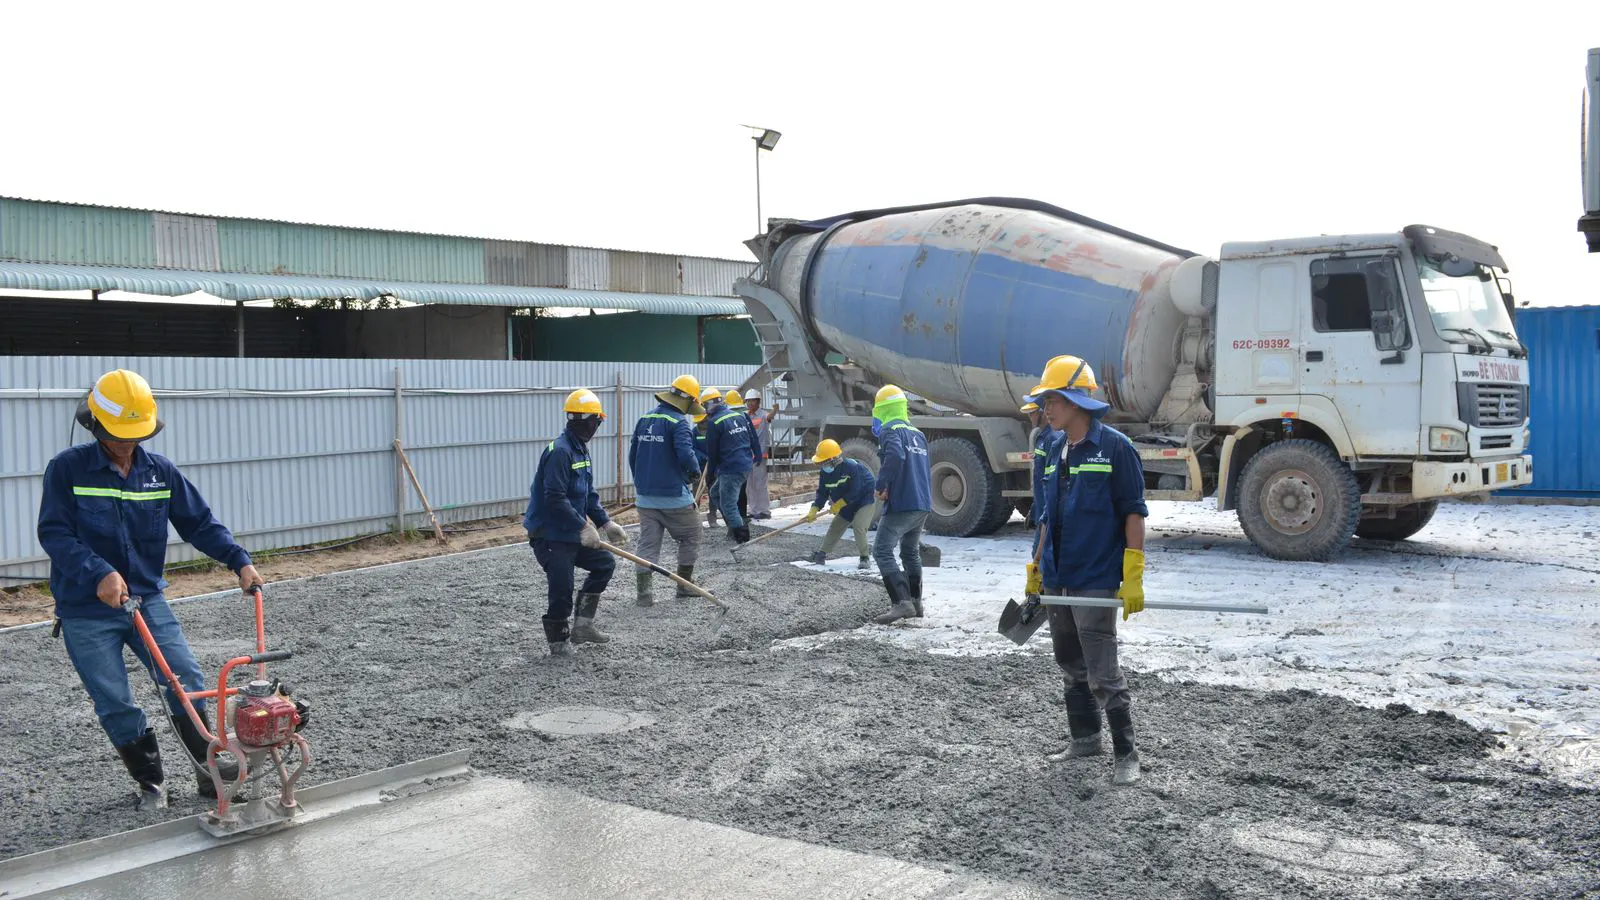
How to Size Concrete Pumps for High-Rise Placement
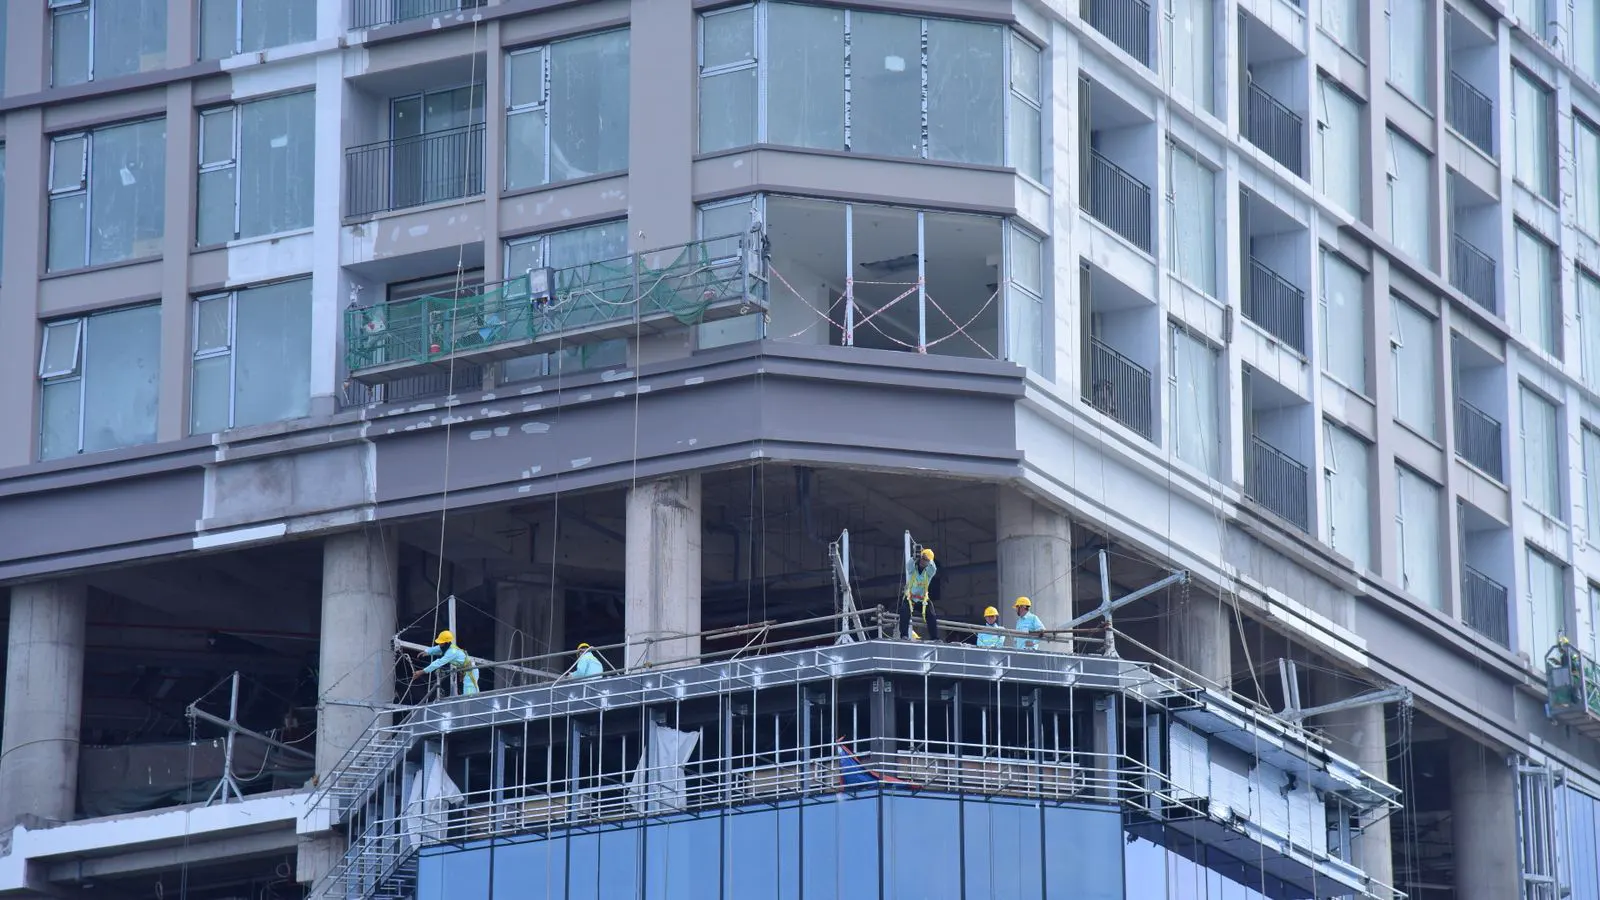
To size a concrete pump for high-rise work, determine total volume, placement height, and hose length. Use these figures to calculate required flow rate and pressure. Select a pump with capacity that exceeds peak demand while maintaining stable pressure during the entire pour.
- Calculate total concrete volume and divide by the planned pour duration to find the required flow rate.
- Add hose length and vertical height to determine total pressure demand for the pump selection.
- Choose a pump capacity that exceeds peak demand with enough margin to handle equipment stoppages.
- Verify hose routing and pump positioning before finalizing the equipment order.
- Review the site schedule and concrete delivery frequency to confirm the selected capacity is realistic.
Prerequisites: What You Need Before Sizing the Pump
Concrete pump sizing for high-rise work starts with hard numbers, not guesswork. Before you select equipment, gather the project data that drives the calculation. You need the total concrete volume for each placement phase. You need the maximum vertical height of the placement point. You need the planned pour duration for each phase. You need the distance from the pump position to the farthest placement point, including horizontal run and vertical rise. You also need the concrete mix design, specifically the slump or flowability, because thicker mixes require more pressure.
If the project uses multiple placement points, list each one separately. A tower crane placement point and a floor edge placement point will have different hose lengths and pressure demands. The pump must handle the worst case, not the average case.
Step 1: Calculate Total Concrete Volume for Each Phase
Break the pour into logical phases. Do not try to size the pump for the entire building at once. A high-rise project often places concrete in floors or sections. Calculate the volume for each phase. For a single floor, multiply floor area by slab thickness and add volume for columns, beams, and walls that are poured simultaneously.
If the placement includes precast elements or core walls, add their volume to the floor calculation. The total volume determines how long the pump must run. If the phase volume is 500 cubic meters and the target pour time is 10 hours, the average flow rate is 50 cubic meters per hour. This average is your starting point, but you will adjust it for peak demand in the next step.
Step 2: Determine the Required Flow Rate
Flow rate is the number of cubic meters of concrete the pump must deliver per hour. Use the total phase volume divided by the available pour time. However, the pour time is not just the pumping time. Include time for rebar tying, formwork adjustments, and concrete delivery delays. A realistic pour time is often longer than the theoretical minimum.
If you plan to pour 500 cubic meters in 10 hours, the required flow rate is 50 cubic meters per hour. But if concrete trucks arrive every 20 minutes and each carries 9 cubic meters, the delivery rate is 27 cubic meters per hour. The pump cannot outpace the delivery rate. If the pump can move 60 cubic meters per hour but trucks only deliver 27, the pump will sit idle between batches. Match the pump capacity to the delivery schedule.
Step 3: Add Peak Demand Margin
Concrete placement is not a steady stream. Trucks arrive in batches. Operators pause to reposition hoses or adjust the boom. There are always short stops. A pump sized exactly at the average flow rate will struggle when the operator needs to push through a thicker section or a longer hose run.
Apply a margin to the calculated flow rate. Many contractors add 10 percent to 20 percent to the base requirement. If your average is 50 cubic meters per hour, target a pump rated at 55 to 60 cubic meters per hour. This margin covers delivery delays and operator pauses. It also helps if the mix is stiffer than expected and needs more pumping time.
Step 4: Calculate Total Pressure Demand
Pressure is the force needed to push concrete through the hoses. It depends on two main factors: the total length of the hose run and the vertical height. Every meter of hose adds friction. Every meter of vertical rise adds hydrostatic pressure.
The total hose length includes the horizontal run from the pump to the placement point and the vertical rise. For a high-rise floor, the horizontal run may be short if the pump is positioned near the tower, but the vertical rise is long. If the pump is at ground level and the placement point is 200 meters up, the vertical component dominates the pressure calculation.
The mix design also affects pressure. A stiff mix with low slump requires more pressure to flow through small hoses. A fluid mix flows more easily but may segregate if pumped too fast. Check the mix designer’s recommended pressure range. If the mix requires 150 bar to flow through standard hoses, your pump must exceed that with margin.
Step 5: Select the Pump Type and Capacity
Once you have the flow rate and pressure, select the pump type. High-rise work usually requires a truck-mounted pump or a long-reach truck pump if the building has a core or shaft where the pump can be positioned. A boom pump is common for high-rise because the boom can reach the placement point directly. A line pump, which is a stationary pump with long hoses, is used when the building has a concrete shaft or when the site is too tight for a truck.
For line pumps, the capacity is often higher than a boom pump of the same model. A line pump can move more concrete per hour because the hoses run in a straight path with fewer bends. A boom pump has a curved boom that adds friction. Choose the type based on site access and building structure.
Match the pump capacity to your calculated flow rate. If you need 55 cubic meters per hour and 200 bar, select a pump rated at 60 cubic meters per hour and 250 bar. The extra margin protects against hose wear and mix variations.
Step 6: Verify Hose Routing and Placement Point Access
Before finalizing the selection, walk the site. Check the hose routing from the pump to each placement point. Look for obstacles. Look for sharp bends. Look for points where the hose will rub against structural elements. A hose that must bend around a column or pass through a small opening will require more pressure.
Check the placement point access. Can the operator position the boom or hose at the exact point where the concrete crew is waiting? If the placement point is behind a wall or on a narrow ledge, the operator may need extra time to position the equipment. This adds to the pour time. Adjust the flow rate calculation if access is difficult.
Step 7: Confirm with the Concrete Supplier
Share your pump selection and flow rate with the concrete supplier. They need to know the maximum flow rate the pump can deliver. If your pump is rated at 60 cubic meters per hour but the supplier’s trucks can only deliver 27 cubic meters per hour, the pump will not run at full capacity. The supplier will adjust the truck frequency or the mix volume to match your pump.
Ask the supplier for the expected delivery interval. If trucks arrive every 20 minutes, the pump must handle the flow rate for a 20-minute interval. If trucks arrive every 40 minutes, the pump will have idle time. Match the pump to the delivery rhythm.
Step 8: Final Verification and Documentation
Write down the final pump specifications. Include the flow rate, pressure rating, hose length, and placement height. Keep this document with the site plan. Share it with the pump operator and the concrete supplier. Before the first pour, verify that the hose length matches the calculation. If the site changes, recalculate the pressure. A longer hose run than planned will increase the pressure demand. If the pump is underpowered for the new length, the concrete will not reach the placement point.
A quick verification step before the pour: confirm the pump model, confirm the hose length, confirm the placement height, and confirm the mix design. If any of these change, recalculate the sizing. Do not rely on memory.
Common Mistakes in High-Rise Pump Sizing
Sizing a pump for the average pour instead of the worst case is the most common error. The average pour may take 8 hours. The worst case, with a thick core wall and a stiff mix, may take 12 hours. If you size for the average, the pump will run at 100 percent capacity for the worst case and may fail to deliver the required flow.
Another mistake is ignoring hose routing. A straight hose run of 150 meters requires less pressure than a routed hose run of 150 meters that includes three 90-degree bends and a 50-meter vertical climb. Always measure the actual hose path, not just the distance between two points.
A third mistake is assuming the pump can keep up with the truck delivery rate. If the pump is rated at 80 cubic meters per hour but the supplier delivers only 25, the pump will sit idle. This wastes fuel and wear. Match the pump to the delivery rhythm, not just the total volume.
A fourth mistake is not accounting for mix stiffness. A mix with 120 millimeters of slump flows differently than a mix with 75 millimeters of slump. Ask the mix designer for the recommended pressure. If the mix is stiff, add more pressure margin. If the mix is fluid, you may need a lower pressure rating, but you must watch for segregation in long hose runs.
Final Verification Step
Before placing the order, run the numbers one last time. Take the total volume for the phase. Divide by the realistic pour time. Add the peak demand margin. Measure the actual hose length from the pump to the worst placement point. Check the mix design pressure. Select a pump that exceeds all four values with margin. Document the selection. Share it with the team. This final check catches errors that slip through the earlier steps. It ensures the pump will deliver concrete to the highest point in the required time without exceeding its pressure limit.
Reference Table: Typical High-Rise Pumping Parameters
The table below shows typical parameters for high-rise concrete placement. Use these as a starting point for your calculations, then adjust for your specific site.
| Parameter | Typical Range | Notes |
|---|---|---|
| Flow Rate | 30 to 80 cubic meters per hour | Depends on phase volume and pour time |
| Pressure | 150 to 300 bar | Depends on hose length and mix stiffness |
| Hose Length | 100 to 300 meters | Measure the actual routed path |
| Placement Height | 100 to 400 meters | Vertical rise from pump to point |
| Peak Margin | 10 to 20 percent | Added to base flow rate |
These values vary by project. A low-slab floor with a light mix may need less pressure. A thick core wall with a stiff mix may need more. Always calculate for your specific phase.
Frequently asked questions
Can I use the same pump for multiple high-rise floors?
Yes, if the placement height and hose length remain within the pump's rated limits. Recalculate the pressure if the hose routing changes between floors.
What if the concrete supplier delivers slower than my pump can pump?
The pump will sit idle between batches. This is normal. The pump capacity should match the delivery rhythm to avoid excessive idle time.
Do I need a larger pump for stiffer concrete mixes?
Yes. Stiffer mixes require more pressure to flow through hoses. Check the mix designer's recommended pressure and add margin.
How do I measure the hose length for pressure calculation?
Measure the actual path the hose will follow from the pump to the placement point. Include horizontal run, vertical rise, and any bends or obstacles.
Is a line pump always better than a boom pump for high-rise work?
Not always. A line pump is better when the building has a shaft or when site access for a boom truck is limited. A boom pump is better when direct placement access is available. ===END===