Checklist: Verifying Hydraulic System Pressure Before Purchase
Use this pre-purchase inspection checklist to verify excavator hydraulic pressure. It covers pump output, valve response, cylinder performance, and leak rates, with red flags to help you identify hidden mechanical faults before signing.
- Run full cycle tests at operating temperature to expose weak points hidden by cold starts.
- Compare actual pump output against the manufacturer specification plate to catch worn gear or damaged impellers.
- Watch for slow retraction, drifting booms, or sluggish swing as early signs of internal valve or cylinder wear.
- Record every reading. A written log makes it easier to negotiate repairs or price adjustments based on documented evidence.
Hydraulic pressure determines how a machine lifts, swings, and holds a load. A low-pressure system may still appear functional during a short demo, but it often reveals serious wear during sustained field work. This checklist helps you verify the actual performance of the hydraulic system before you sign a purchase agreement.
Why standard demo runs miss hydraulic faults
Most sellers run a standard demo: lift the boom, swing the cab, extend the stick, and cycle the bucket. That sequence shows basic function but does not stress the pump, valves, or cylinders. A unit can hold a load for five minutes and still have a leaking main valve.
The issue is temperature. Hydraulic oil expands and thins as it warms. Worn seals and internal valve clearances often only leak or drift when the oil reaches its normal operating temperature. A cold machine may look tight. A warm machine may show the real condition.
Plan at least thirty minutes of continuous operation before you take final readings. Let the engine run at idle and under load. Do not rely on the first ten minutes of operation.
Step one: verify pump output and pressure relief settings
Start at the main pump. Locate the pressure gauge on the main manifold or use a portable gauge on the test port. Run the engine at the rated RPM for the hydraulic pump.
Apply full load to the boom lift function. The pressure should build and hold near the relief valve setting. Compare the reading to the specification plate on the pump or the operator manual. A reading consistently below the stated maximum suggests pump wear, a stuck relief valve, or a clogged filter.
Watch the pressure while the boom is fully extended and holding a load. If the needle drops while the engine RPM is constant, you have an internal leak. Common causes include a worn pump case, a damaged piston seal, or a stuck control valve.
Red flags:
- Pressure builds slowly before stabilizing.
- Needle bounces or fluctuates during steady operation.
- Actual maximum pressure is below the nameplate specification.
- Gauge needle drops when load is applied.
Step two: test boom and stick cylinder response
Cylinder response reveals valve and seal condition. Extend and retract the boom and stick at normal working speed. Listen for whining or groaning from the hydraulic pump. That sound often indicates low oil pressure or air in the system.
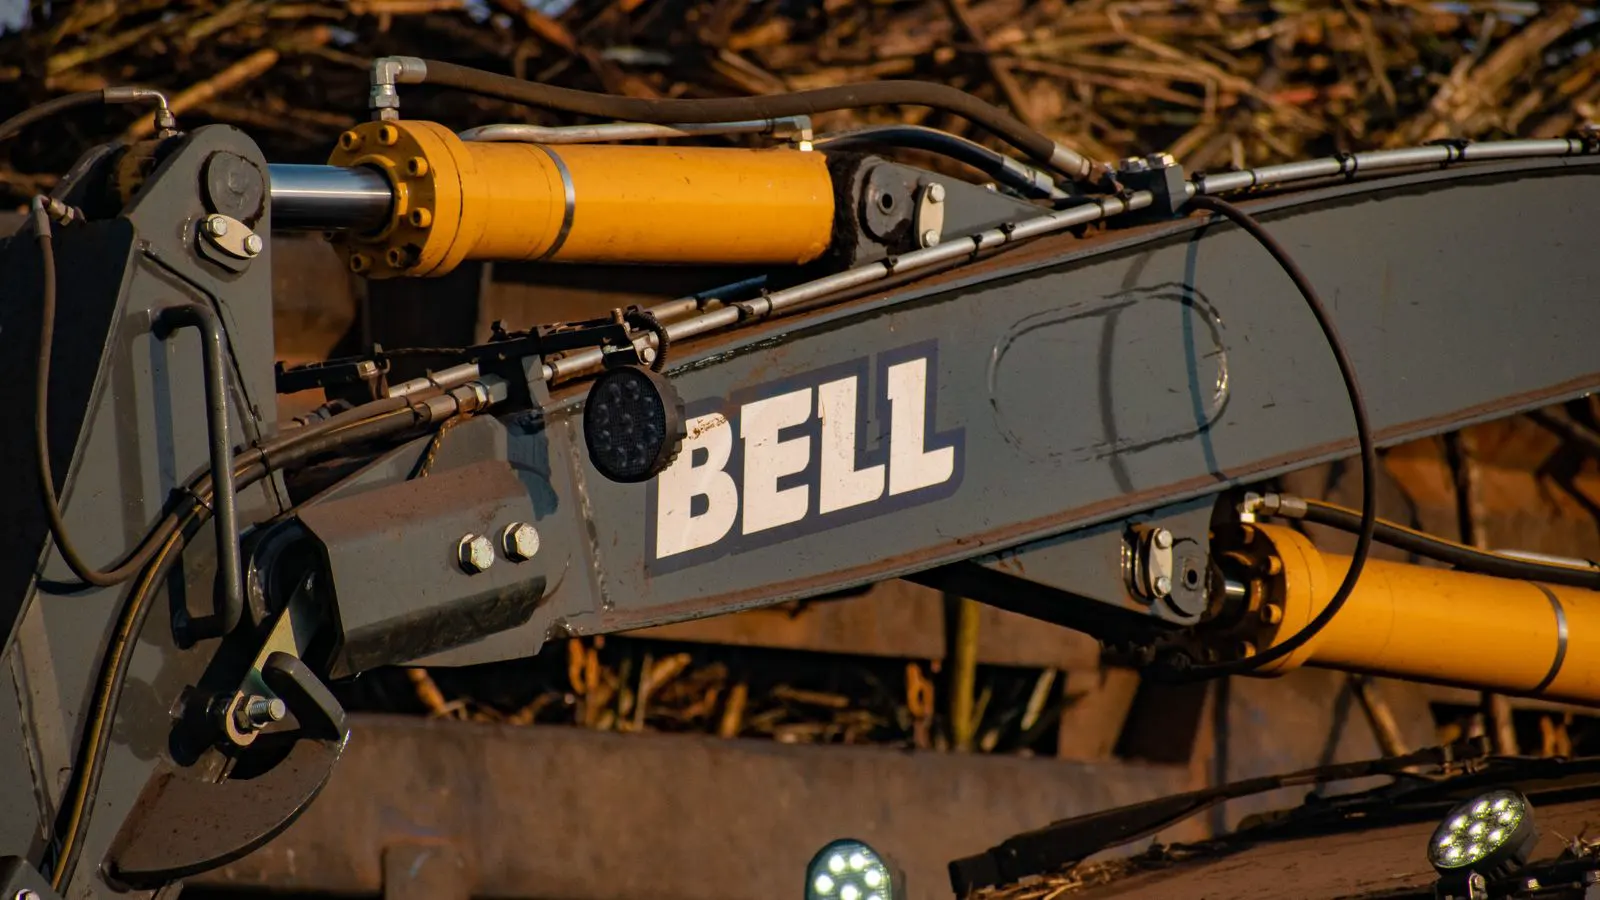
Hold the boom fully extended. Do not move the stick or bucket. Watch the boom for drift. If the boom slowly lowers while the engine is running and no control input is applied, the boom cylinder is leaking internally or the hold valve is worn.
Now extend the stick to full reach. Hold it there. The stick should stay in position without creeping. A sticky or slow stick often points to a worn stick valve or a damaged cylinder seal.
Red flags:
- Boom or stick drifts when held at full extension.
- Slow response on the first extension after a full retraction.
- Visible oil seepage at cylinder rod seals.
- Audible pump noise at full load.
Step three: check bucket and swing functions
The bucket cylinder often takes the hardest abuse because it cycles rapidly during digging. Extend and retract the bucket at full speed. The motion should be smooth and consistent. If the bucket is slow to close but quick to open, you likely have a worn bucket valve or a damaged cylinder seal.
Test the swing function. Turn the cab to the left and right at full speed. The swing should be smooth and free of hesitation. If the swing slows near the limits, the swing motor or swing valve may be worn. A dragging or grinding noise during swing indicates a problem with the swing bearing or motor seals.
Apply a load to the bucket while the boom is extended. Cycle the bucket three or four times. Watch the boom for drift. If the boom drops while the bucket is cycling, the boom hold function is compromised. This is a common sign of a failing main valve.
Red flags:
- Bucket motion is slow in one direction but quick in the other.
- Swing speed decreases as the cab turns.
- Boom drifts while the bucket cycles under load.
- Grease or oil weeps from the swing bearing.
Step four: inspect for external leaks and oil condition
Walk the machine. Check the main manifold, cylinder rod seals, hose connections, and pump inlet. Look for wet spots or dried oil trails. A small drip may be acceptable if it is clean and consistent. A fresh, heavy leak is not.
Check the hydraulic oil level in the reservoir. The level should be at the correct mark on the sight gauge. Low oil can cause air ingestion and pump damage. If the reservoir is low and the machine has been sitting, ask when it was last serviced. A machine that needs oil between shifts is not ready for purchase.
Pull a sample from the reservoir. Look for metal particles. A small amount of dark sediment is normal in older units. A metallic shimmer or gritty texture suggests internal wear from pump or motor components. If you see metal flakes, request a full hydraulic teardown or a fluid analysis report.
Red flags:
- Oil level is below the minimum mark.
- Visible metal particles in the oil sample.
- Fresh oil weeping from cylinder rods or hose fittings.
- Dark, burnt-smelling oil, which indicates overheating.
Step five: compare performance against a known good unit
If possible, run the machine side by side with a comparable unit in good condition. Compare the speed of boom extension, stick movement, and bucket cycling. A unit that feels sluggish compared to a healthy machine is not just old; it has a specific fault.
Ask the seller for the hydraulic service records. If the machine has not been serviced for more than a year, the filters may be clogged and the oil degraded. Clogged filters restrict flow and cause pressure drops. Ask for the last pump replacement date. A pump that has run past its service interval is a known risk.
If the seller cannot provide records, treat the machine as unknown. You are buying the condition you see, not the condition they claim. Document every reading and every observed fault. Write it down. Take photos. This becomes your negotiation tool.
Hydraulic pressure test reference table
Use this table as a quick reference during your inspection. Fill in the actual values and compare them to the manufacturer specifications.
| Test Point | What to Measure | Acceptable Range | Red Flag |
|---|---|---|---|
| Main Pump | Maximum output pressure | Within 5 percent of nameplate | Below 90 percent of spec |
| Boom Lift | Pressure under full load | Stable needle, no drop | Needle drops with load |
| Stick Extension | Pressure at full reach | Stable, no drift | Drift or slow response |
| Bucket Cycle | Pressure during rapid cycling | Even response, no lag | Slow in one direction |
| Swing Motor | Pressure during full turn | Smooth, no hesitation | Slow or grinding swing |
| Oil Level | Reservoir sight gauge | At correct mark | Below minimum mark |
| Oil Condition | Visual sample check | Clean, no metal | Metallic particles present |
Final verification steps before signing
Before you hand over the keys, run one last full cycle. Engage all functions under load. Let the machine idle for five minutes after the test. Check the reservoir level again. If it dropped, you have a leak.
Confirm the hydraulic pressure relief valve is set correctly. Some machines have adjustable relief valves. If the seller has reduced the pressure setting to make the machine feel smoother, you are buying a compromised system. Restore it to the manufacturer specification or negotiate a price reduction.
Write your findings into the purchase agreement. If you found drift, leaks, or low pressure, specify that the machine is sold with those known conditions. Do not rely on verbal promises. The checklist you built during the inspection becomes part of the contract.
A hydraulic system is the heart of an excavator. It controls every movement. A small leak today becomes a pump replacement next quarter. The cost of a proper pre-purchase inspection is small compared to the cost of a machine that fails on site. Run the tests. Record the numbers. Make your decision on evidence, not on the demo.
Frequently asked questions
How long should the machine run before taking pressure readings?
Run it for at least thirty minutes to reach operating temperature. Cold oil gives false readings and can hide internal leaks.
What is the best way to check for boom drift?
Extend the boom to full length and hold it there with no control input. Watch for any slow lowering over a five minute period.
Can I test hydraulic pressure with a portable gauge?
Yes. Attach a portable gauge to the test port on the main manifold. Make sure the gauge is rated for the pressure range of the machine.
What does a whining pump sound indicate?
It usually means low oil pressure, air in the system, or a worn pump. Check the reservoir level and oil condition first.
Should I worry about small oil drips?
A small, consistent drip at a hose connection may be acceptable. A fresh, heavy leak or oil seeping from cylinder rods is not.