How to Schedule Preventive Maintenance for Wheel Loaders
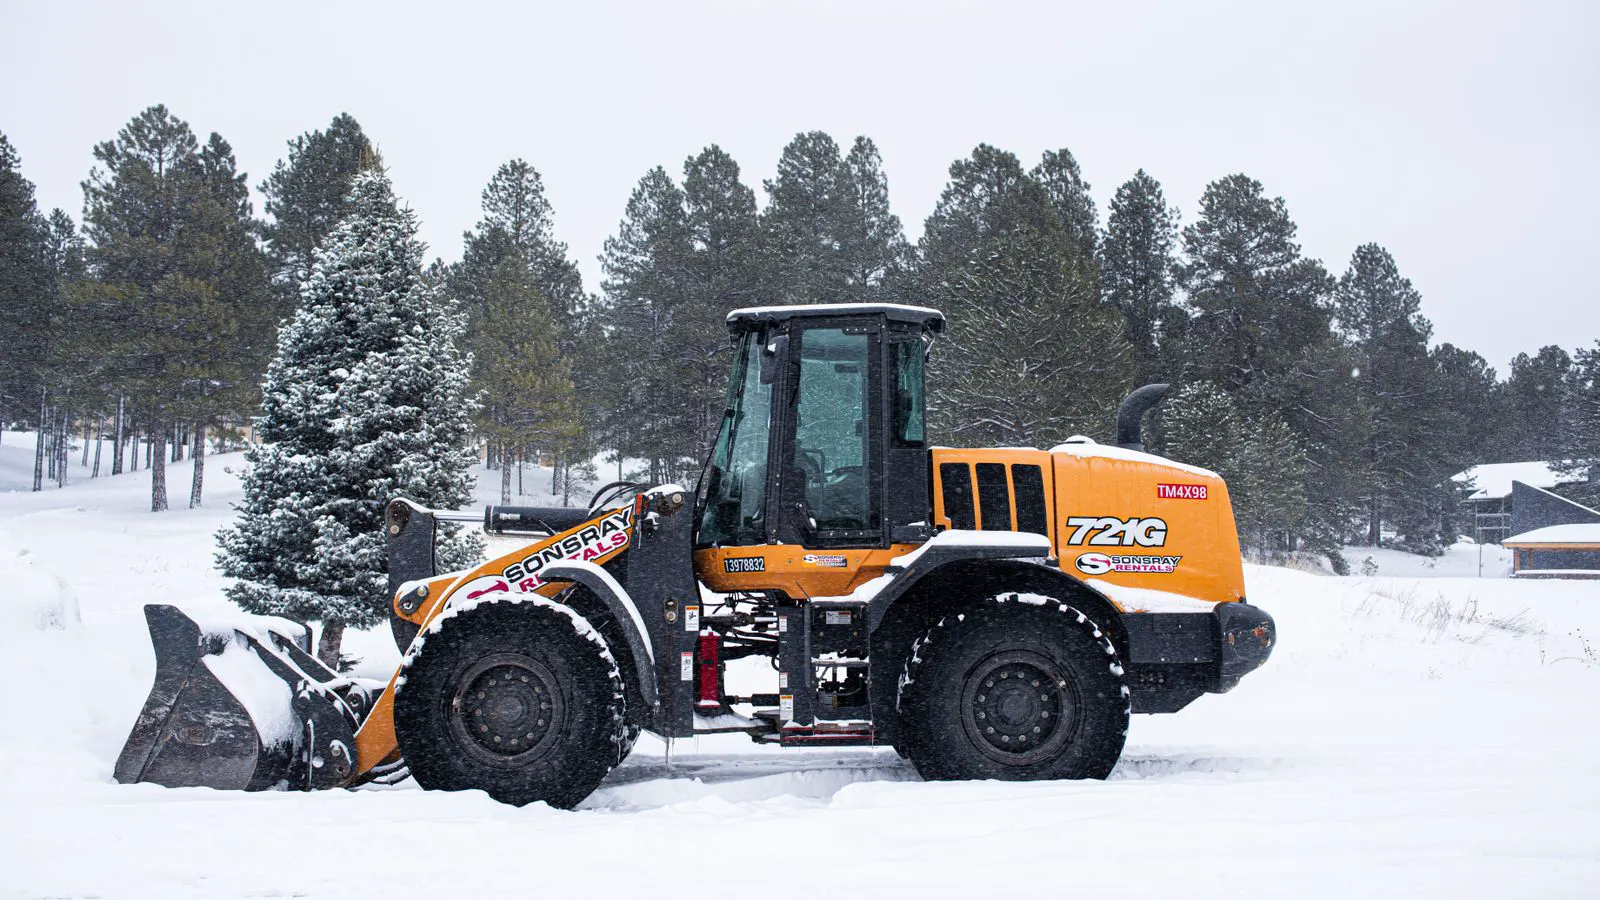
Building a loader maintenance schedule requires aligning service intervals with actual operating hours, not just calendar dates. This approach protects hydraulic systems and reduces unexpected breakdowns. Follow these steps to create a calendar that keeps your wheel loaders running predictably on any job site.
- Base maintenance intervals on engine hours and operating conditions, not calendar months.
- Track hydraulic oil temperature and filter condition to adjust service intervals.
- Use a digital log to record every service action and part replacement.
- Align major service tasks with low-activity periods to minimize production impact.
- Verify the schedule by reviewing past breakdown data and adjusting intervals accordingly.
Prerequisites for Effective Loader Maintenance Scheduling
Before creating a service calendar, establish what you are managing. You need access to the machine’s current operating hour meter reading, the manufacturer’s maintenance manual, and a record of past service events. Without these inputs, any schedule is a guess.
The wheel loader operates in two distinct stress environments. High dust or abrasive conditions wear the hydraulic system faster than moderate job sites. Heavy bucket loading cycles stress the axle and transmission more than light material handling. Your schedule must reflect the actual duty cycle of each machine.
You also need a consistent method for tracking work. Some fleets use paper logs. Others use a digital maintenance platform. The format matters less than consistency. Every entry must show the date, hours, service performed, and parts replaced.
Step 1: Audit Current Operating Hours and Conditions
Start by pulling the current hour meter reading from every wheel loader in the fleet. Record these values in a master list. Note the type of work each machine performs. A loader handling topsoil has different wear patterns than one breaking concrete or handling gravel.
Check the duty cycle. How many hours per day does each machine run? Does it operate continuously through shifts, or only during peak periods? A machine working ten hours a day for three months, then sitting idle, creates a different maintenance challenge than one running four hours daily.
This step defines the baseline. Without accurate hours, you cannot calculate service intervals. A schedule based on estimated hours instead of actual meter readings will drift out of alignment within a few months.
Step 2: Review Manufacturer Service Intervals and Adjust for Conditions
The manufacturer’s manual provides baseline service intervals. These intervals assume normal operating conditions. If your site operates in extreme heat, high dust, or wet environments, the intervals need adjustment.
Consult the manual for the “severe duty” or “harsh conditions” column. These intervals are typically shorter than standard intervals. A filter that lasts 250 hours in normal conditions may need replacement at 150 hours in dusty conditions.
Adjust the intervals based on your site reality. If hydraulic oil changes frequently due to contamination, reduce the oil change interval. Do not ignore the manufacturer’s minimums, but do not blindly follow them if your conditions are milder.
Step 3: Separate Daily, Weekly, and Major Service Tasks
Break all maintenance tasks into three categories. Daily tasks include checking fluid levels, inspecting tires, and cleaning the cab. Weekly tasks involve more detailed inspections of hoses, fittings, and structural components. Major service tasks cover engine oil changes, hydraulic filter replacements, and transmission fluid service.
This separation makes scheduling manageable. Daily and weekly tasks belong in a simple checklist. Major tasks require planning and parts preparation. A calendar that mixes all tasks into one list becomes difficult to follow.
Assign each task a responsibility. The operator handles daily checks. The site technician handles weekly inspections. The maintenance shop handles major services. Clear ownership prevents tasks from falling through the cracks.
Step 4: Build the Calendar Using Operating Hours as the Primary Trigger
Create a service calendar that uses engine hours as the primary trigger. Enter the current hour reading for each machine. Add the interval for each scheduled task. Calculate the target hour at which the task is due.
For example, if a loader reads 1,200 hours and the hydraulic filter interval is 250 hours, the filter is due at 1,450 hours. If the transmission fluid interval is 500 hours, the fluid is due at 1,700 hours. Enter these target hours into the calendar.
Some tasks also have a time component. A tire pressure check might be due every 7 days, regardless of hours. A belt tension check might be due every 250 hours or 30 days, whichever comes first. Use whichever condition triggers first.
Step 5: Align Major Services with Low-Activity Periods
Major services take time. An engine overhaul or full hydraulic system service can take a machine offline for a day or more. Schedule these tasks when the machine has lower demand.
Look at your seasonal work patterns. If your fleet is idle during winter, schedule major services then. If you have a slow period between projects, use that window. Avoid scheduling major services during peak production months when every machine hour matters.
Coordinate with your parts supply. Confirm that filters, oil, and seals are available before the machine goes into the shop. A delay in parts delivery extends the downtime. Order critical parts at least two weeks before the scheduled date.
Step 6: Integrate Hydraulic System Monitoring into the Schedule
Hydraulic systems are the most common source of loader breakdowns. Monitor hydraulic oil temperature during operation. If the oil consistently runs hot, investigate for blockages, worn pumps, or inadequate cooling.
Check the hydraulic oil condition at each service interval. Look for dark color, metallic particles, or a burnt smell. These signs indicate internal wear or contamination. A simple oil sample test can detect issues before they cause a failure.
Adjust the hydraulic filter interval based on oil condition. If the oil shows contamination early, shorten the interval. If the oil remains clean, you may extend the interval slightly. This data-driven approach prevents over-service and under-service.
Step 7: Track Service History and Adjust Intervals Annually
At the end of each year, review the service records. Compare planned tasks against actual work performed. Identify machines that broke down before a scheduled service. Look for patterns. Did a specific component fail repeatedly? Did a particular machine require more frequent service than others?
Adjust intervals based on this data. If the hydraulic pump on one loader fails every 300 hours, investigate why. Is the oil contaminated? Is the operator using the machine incorrectly? Fix the root cause before adjusting the schedule.
Update the master calendar with revised intervals. Document the changes and the reasons. This creates a living schedule that improves over time instead of a static document that becomes outdated.
Common Mistakes in Loader Maintenance Scheduling
The most frequent error is scheduling by calendar months instead of operating hours. A machine that runs 40 hours a month needs different service than one that runs 200 hours. Month-based schedules fail as soon as operating conditions change.
Another mistake is ignoring operator feedback. Operators know when a machine sounds different or vibrates. If an operator reports a noise, record it immediately. Do not wait for the next scheduled inspection. Early reporting prevents small issues from becoming major repairs.
Fleets also make the mistake of not tracking parts. If you replace a hydraulic hose but do not record the part number and lot, you cannot trace a failure back to a specific batch. Keep a parts log alongside the service log.
Finally, avoid treating all machines as identical. Each wheel loader has a history. A newer machine and a high-hour machine need different attention. Group machines by age and usage when building the schedule.
Final Verification: Review the Schedule Against Breakdown Data
Before activating the new maintenance schedule, review the last twelve months of breakdown records. Check if the failures that occurred fall outside the planned service intervals. If a transmission failed at 900 hours and your interval was 1,000 hours, the interval is too long for that machine.
Walk the fleet with the calendar. Confirm that each machine has a clear next service date. Verify that parts are on order. Check that the assigned technician has the tools and training for the task.
Run the schedule for one month. Track every task performed. Compare actual hours against planned hours. If the schedule is consistently ahead or behind, adjust the intervals. A working schedule adapts to reality.
Sample Service Interval Reference
The table below shows typical service intervals for a wheel loader operating in normal conditions. Adjust these values for severe duty environments.
| Service Task | Standard Interval | Severe Duty Interval |
|---|---|---|
| Engine oil and filter | 250 hours | 150 hours |
| Hydraulic oil and filter | 500 hours | 300 hours |
| Air filter element | 500 hours | 250 hours |
| Transmission fluid | 1,000 hours | 500 hours |
| Tire pressure check | Daily | Daily |
| Hydraulic hose inspection | Weekly | Weekly |
| Grease points | 100 hours | 50 hours |
| Coolant level check | Weekly | Weekly |
Use this table as a starting point. Your manufacturer’s manual provides the definitive intervals for your specific machine model.
Keeping the Schedule Current
A maintenance schedule is not a one-time document. It requires ongoing attention. Review it quarterly. Update it when a machine changes duty, when a component fails, or when operating hours shift.
Assign one person to own the maintenance calendar. This person updates records, orders parts, and coordinates with the maintenance team. Without a single owner, the schedule fragments and loses accuracy.
Keep the calendar accessible to all maintenance staff. A paper copy in the shop and a digital copy on the site office network ensure that everyone works from the same information.
Linking Maintenance to Operator Training
The maintenance schedule works best when operators understand their role in it. Train operators to report unusual noise, vibration, or fluid leaks immediately. A 10-minute report can prevent a 500-hour repair.
Include maintenance basics in operator training. Teach operators to check fluid levels, inspect hoses, and clean the machine after use. This daily care reduces the load on the scheduled maintenance team.
When operators understand the purpose of each service task, they respect the schedule. A machine that sits for a scheduled service is a machine that keeps running. A machine that skips service because of pressure to stay productive is a machine that will stop on the most inconvenient day.
Managing Parts Inventory for Scheduled Service
Maintaining a small stock of critical parts prevents delays. Keep filters, seals, and common hydraulic hoses on hand. These items are inexpensive to store and expensive to source when needed.
Track parts usage. If a specific hydraulic hose fails frequently, buy more of it. If a filter lasts much longer than expected, reduce the order quantity. Parts inventory should match actual service intervals, not assumptions.
Coordinate with your supplier. Some parts have long lead times. Order them before the scheduled service date. A missing part can turn a two-hour service into a two-day delay.
Measuring Success
Track three metrics to measure the success of your maintenance scheduling. First, measure unplanned downtime hours per month. A good schedule should reduce this number over time. Second, measure the percentage of scheduled tasks completed on time. Aim for a high completion rate. Third, track the cost per operating hour. A well-maintained machine costs less to run than one that suffers repeated breakdowns.
Review these metrics quarterly. If downtime remains high, revisit the intervals and the operator training. If completion rates are low, simplify the schedule or adjust staffing.
The goal is not to perform every possible service. The goal is to perform the right service at the right time. A disciplined maintenance schedule protects your investment and keeps the fleet available when the job demands it.
Frequently asked questions
How often should I check hydraulic oil in a wheel loader?
Check hydraulic oil level and condition at every scheduled service interval. Add a weekly visual check for leaks during normal operation. Adjust the interval if the oil shows signs of contamination or heat stress.
Can I use a single maintenance schedule for all wheel loaders in a fleet?
No. Each machine has a different hour count, duty cycle, and history. Use a master schedule as a template, but adjust intervals for each machine based on actual operating conditions and past service records.
What is the difference between severe duty and normal duty intervals?
Severe duty intervals are shorter and account for harsher conditions such as high dust, extreme heat, or continuous heavy loading. Normal duty intervals assume moderate job site conditions and standard loading cycles.
How do I know if a maintenance interval is too long?
Review breakdown records. If a component fails before its scheduled service date, the interval is likely too long for that machine. Investigate the cause and shorten the interval or fix the underlying issue.
Should operators perform daily maintenance checks?
Yes. Operators should check fluid levels, inspect tires, and report unusual sounds or leaks every shift. This daily care catches small problems before they become major failures and reduces the load on scheduled maintenance.