How to Match Excavator Attachments to Soil Conditions
Match excavator attachment selection to soil conditions by identifying material hardness, cohesion, and depth. Choose buckets with the right cutting edge, back angle, and lip for the specific ground encountered on site.
- Identify soil composition and hardness before selecting a bucket type or attachment.
- Match the attachment's cutting edge, back angle, and lip to the specific material being moved.
- Verify hydraulic and mechanical compatibility with the excavator's quick-connect system.
- Test the attachment in the actual soil to confirm stability and digging efficiency.
- Replace worn parts early to prevent damage to the excavator's hydraulic components.
Determine the Soil Composition and Hardness
Start by identifying what you are digging. The soil type dictates the attachment profile. Soft, loose material like sand or topsoil requires a different bucket geometry than dense clay or fractured rock.
Walk the site and note the ground surface. Look for signs of previous excavation or natural strata. If the site is new, check the geotechnical report if available. If not, drive a small utility vehicle or use a hand auger to expose subsurface layers.
The soil condition determines the attachment compatibility. Soft soil requires a wide cutting edge to scoop material without pushing it down. Hard soil demands a sharp, reinforced edge to break the material. Mixed conditions often require a general-purpose bucket or a plan change during the shift.
Select the Bucket Back Angle
The back angle is the angle between the back of the bucket and the vertical. It controls how material is retained during the lift.
A high back angle, typically between 20 and 30 degrees, suits loose, granular materials like sand. The steep angle prevents material from spilling during the lift. A low back angle, typically between 0 and 10 degrees, suits cohesive materials like clay or wet soil. The flatter angle allows the bucket to carry more material with less spillage.
Match the back angle to the soil condition. For sandy or gravelly ground, use a high back angle. For sticky, cohesive clay, use a low back angle. If the soil is a mix, a medium back angle around 15 degrees offers a balance.
Choose the Cutting Edge and Lip
The cutting edge is the front lip of the bucket. It must cut the soil without plowing it. The material and profile of the lip determine the attachment selection for different soils.
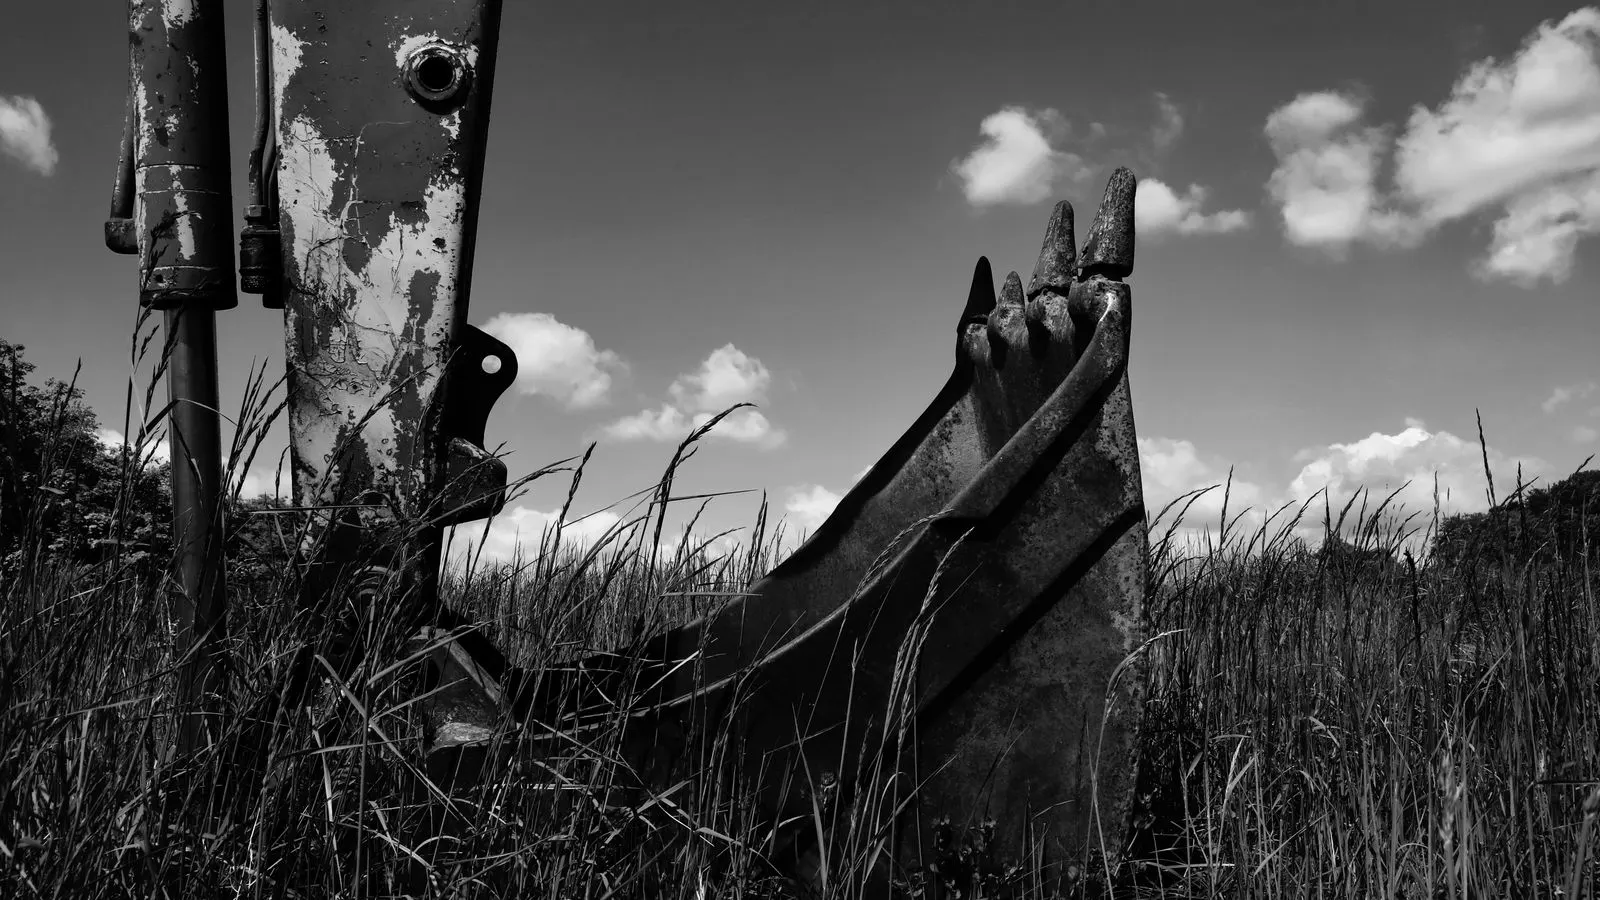
For soft to medium soil, a standard U-profile or V-profile bucket with a solid steel lip works well. The solid lip provides a smooth cutting action. For hard soil, rocky soil, or material with embedded debris, use a replaceable cutting edge. A hardened steel lip or a replaceable edge bar protects the bucket body and maintains the cutting profile.
Consider the lip width. A wide lip handles large volumes of loose material. A narrow lip reduces the force needed to penetrate deep or hard soil. For excavation in confined spaces, a narrow lip helps keep the attachment compact.
Match the Bucket Width to Excavator Capacity
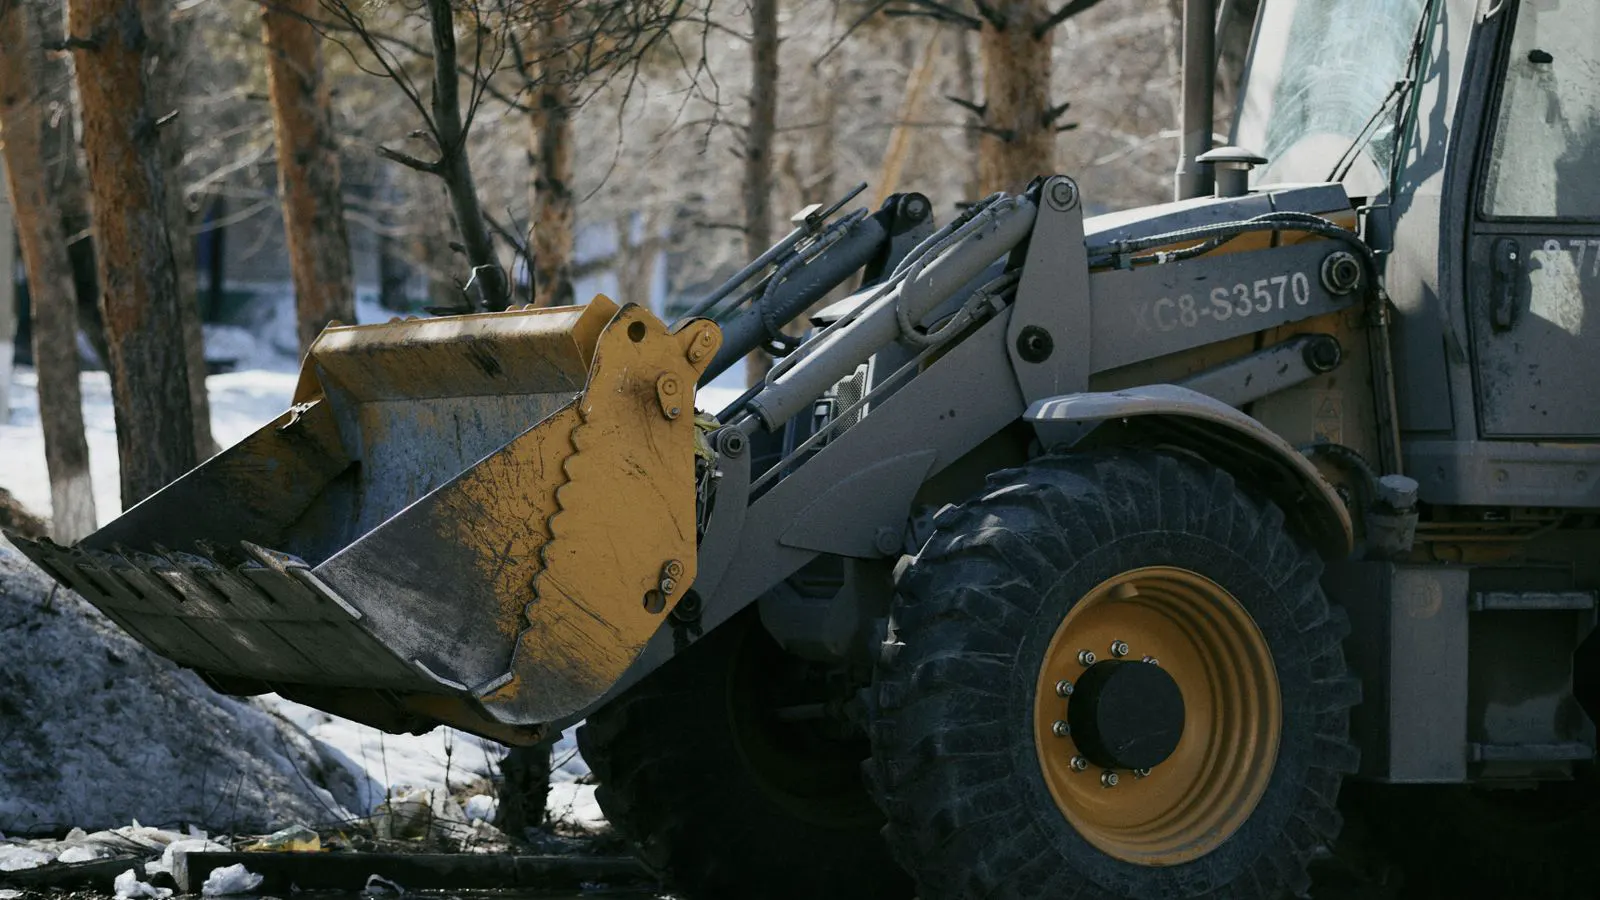
The bucket width must align with the excavator’s swing radius and lifting capacity. A bucket that is too wide reduces the machine’s stability and digging depth. A bucket that is too small reduces cycle time and productivity.
Check the excavator’s operating weight and the attachment’s weight. The total weight affects the ground pressure and the machine’s ability to dig without tipping. The hydraulic power must be sufficient to swing and lift the loaded bucket.
For standard excavator attachment selection, the bucket width should not exceed 1.5 times the machine’s track width. This ratio maintains stability. If the soil is heavy and cohesive, stay on the lower end of this range. If the soil is light and loose, you can move toward the higher end.
Verify Quick-Connect and Hydraulic Compatibility
Before attaching the bucket, verify the connection points. Most modern excavators use a quick-connect coupler system. Ensure the attachment’s pins and sockets match the machine’s standard.
Check the hydraulic hose lengths. The hoses must reach the attachment without being stretched or kinked during full swing. Kinked hoses can burst, causing hydraulic failure and downtime. Inspect the hoses for wear, nicks, or bulges before use.
Confirm the pin size and material. The pins must match the excavator’s specifications. Mismatched pins can shear under load. Use the correct pins and washers. Lubricate the pins and sockets before attachment to prevent corrosion and ensure smooth operation.
Test the Attachment in Actual Soil
Do not rely solely on specifications. Test the attachment in the actual soil conditions on the site. Run the excavator through a full cycle: dig, lift, swing, and dump.
Observe the bucket’s performance. Does the material spill? Does the bucket push the soil instead of cutting it? Does the machine struggle with the lift? Adjust the back angle or switch to a different lip if the performance is poor.
Listen for hydraulic noises. Whining or groaning can indicate insufficient pressure or a worn component. Check the hydraulic fluid temperature. Overheating suggests the hydraulic system is working too hard for the attachment size.
Common Mistakes in Attachment Selection
Selecting the wrong attachment is a common error. It leads to reduced productivity, increased fuel consumption, and accelerated wear on the excavator.
The most common mistake is using a standard bucket for hard soil. The standard lip wears down quickly, reducing cutting efficiency. The operator may not notice the wear until the bucket is no longer effective.
Another mistake is ignoring the soil depth. A bucket that is too wide for the depth limits the machine’s digging range. The operator may end up digging in shallow passes, which increases cycle time.
Do not neglect the back angle. A high back angle for clay causes constant spillage. A low back angle for sand causes the material to fall out during the lift.
Final Verification and Maintenance
Before starting the workday, perform a final check. Inspect the bucket for cracks, welds, and wear on the cutting edge. Check the pins and quick-connect for security. Verify the hydraulic hoses are intact and properly routed.
Monitor the attachment during the first hour of operation. Pay attention to the machine’s behavior. If the excavator feels heavy or unbalanced, stop and re-evaluate the attachment selection.
Keep records of the soil conditions and the attachment used. This data helps refine future attachment selection for similar sites. Regular maintenance of the attachment extends its life and maintains efficiency.
| Soil Condition | Recommended Bucket Type | Back Angle | Lip Type |
|---|---|---|---|
| Loose Sand | Standard U-Profile | High (20-30 deg) | Solid Steel |
| Cohesive Clay | Low-Profile Bucket | Low (0-10 deg) | Solid Steel |
| Rocky Material | Heavy-Duty Bucket | Medium (15 deg) | Replaceable Edge |
| Mixed Soil | General-Purpose Bucket | Medium (15 deg) | Standard Lip |
Step-by-Step Selection Process
- Identify the soil composition and hardness. Use visual inspection or geotechnical data to determine the material type.
- Measure the excavation depth and width. This defines the required bucket size and the machine’s operating limits.
- Select the back angle based on soil cohesion. Choose high for loose material, low for cohesive material.
- Choose the cutting edge and lip profile. Use replaceable edges for hard or rocky soil.
- Verify the bucket width against the excavator’s stability limits. Ensure the attachment does not exceed the machine’s safe operating range.
- Check the quick-connect and hydraulic compatibility. Confirm pin sizes, hose lengths, and connection points match the excavator.
- Test the attachment in the actual soil. Run a full cycle and observe performance, stability, and hydraulic response.
- Adjust or replace parts as needed. Swap the lip or change the back angle if the attachment does not perform well.
- Document the selection and soil conditions. Record the attachment type and soil details for future reference.
Frequently asked questions
How do I know if my excavator can handle a larger bucket?
Check the excavator's maximum lifting capacity and operating weight. The total weight of the machine plus the loaded bucket must stay within the manufacturer's limits to prevent tipping and structural damage.
Can I use the same bucket for both sand and clay?
A general-purpose bucket can handle both, but it will not be optimal for either. For high productivity, use a high back angle for sand and a low back angle for clay.
What happens if the cutting edge is worn?
A worn edge reduces cutting efficiency and increases the force needed to penetrate soil. This leads to higher fuel consumption, slower cycle times, and potential damage to the bucket body.
Do I need to replace the quick-connect pins?
Pins can wear or shear over time. Inspect them regularly. Replace them if they show signs of wear, bending, or if the connection feels loose.
How often should I inspect the hydraulic hoses?
Inspect the hoses daily before starting work. Look for cuts, nicks, bulges, or kinks. Replace any hose that shows signs of wear or damage to prevent hydraulic failure.