How to Verify Mobile Crane Ground Pressure Limits
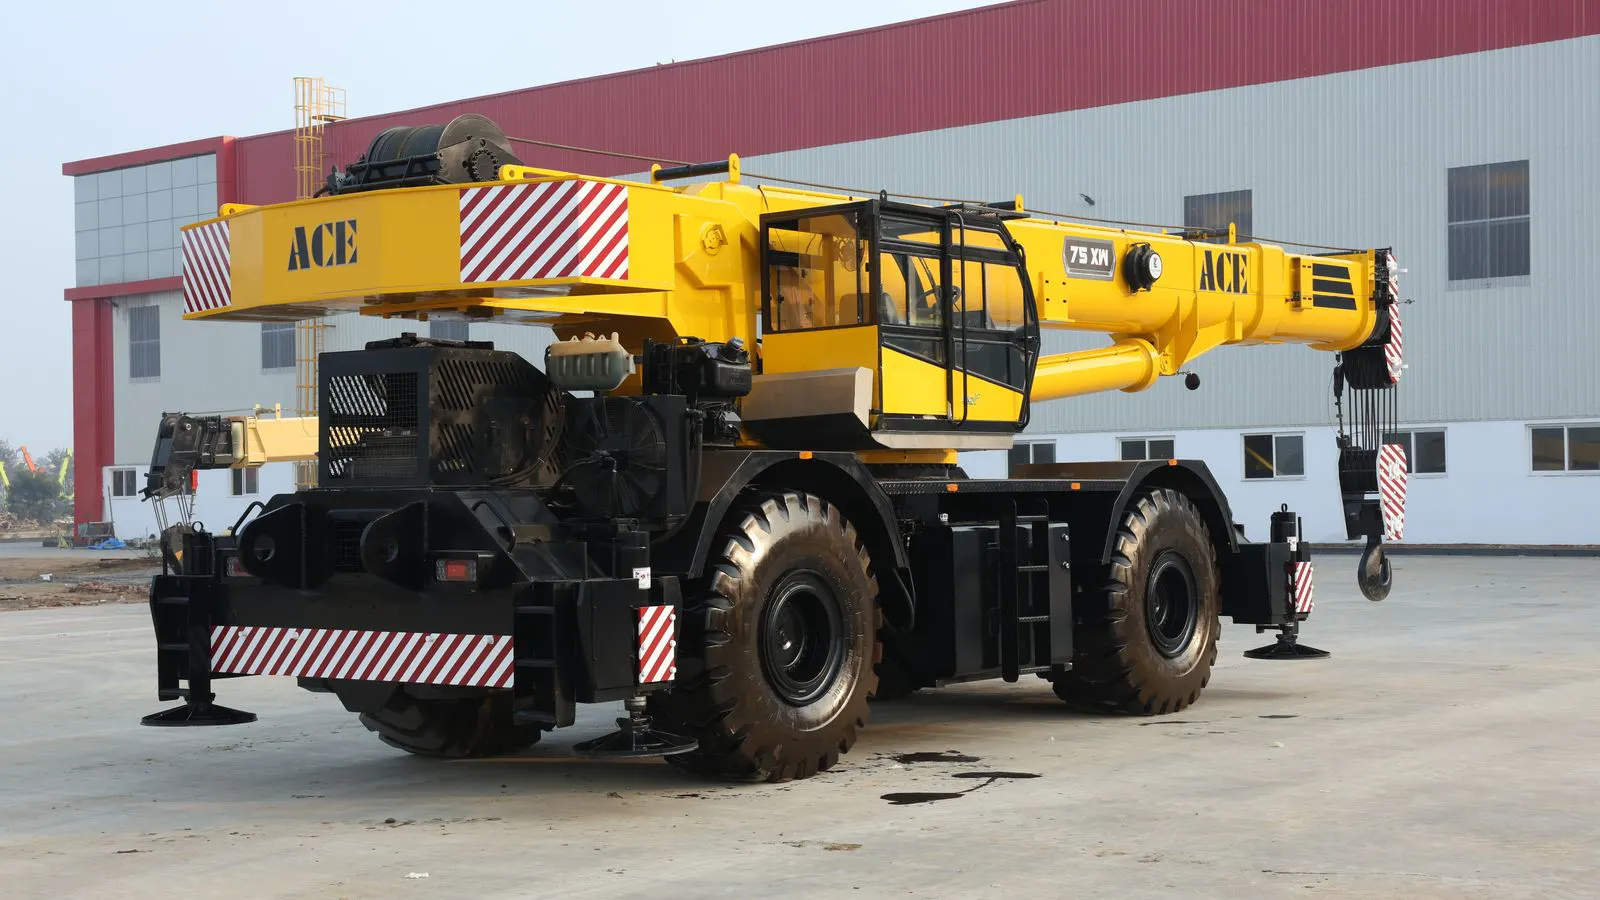
Verify mobile crane ground pressure by calculating the maximum load on the ground, comparing it to the site bearing capacity, and using outriggers or mats. Follow these steps to confirm safety before lifting.
- Check the crane manual for specific outrigger pad area and load limits.
- Measure the site's ground bearing capacity before moving the crane.
- Use ground mats or cribbing when soil is soft or uneven.
- Recheck ground conditions after rain or heavy vibration.
Why Ground Pressure Matters Before Lifting
A mobile crane fails when the ground gives way under the outrigger pads. The machine may look stable, but a soft patch of earth can shift, sink, or tilt the boom. This causes the load to swing, the boom to sag, and the structure to fail.
Ground pressure limits define the maximum force a site can support without excessive settlement. Exceeding this limit is a primary cause of crane topples. Procurement managers and engineers must confirm that the site can hold the weight of the crane plus the load being lifted.
This guide covers the specific steps to calculate and verify those limits. It assumes you have access to the crane’s technical documents and basic soil testing tools.
Prerequisites: Documents and Tools Required
Before you step onto the site, gather the necessary data. Without this information, any calculation is a guess.
You need the crane’s operator manual and the specific model’s capacity chart. These documents list the outrigger pad size and the maximum allowable ground pressure for that machine. You also need the site’s geotechnical report or a preliminary soil bearing capacity test. If you do not have a report, you must test the ground yourself.
Bring a tape measure, a soil probe or penetrometer, and a calculator. You will need to measure the distance between outrigger pads and the area of each pad. You also need the total weight of the crane and the weight of the load.
Step 1: Identify the Total Static Weight of the Crane
Locate the operating weight of the specific crane model in the manual. This is the weight of the machine without a load. It includes the chassis, boom, cab, and counterweight.
Some models have different weights depending on the boom configuration or hydraulic system. Use the figure for the exact configuration you are deploying. Do not estimate. A 500 kilogram difference in crane weight changes the ground pressure calculation.
Write this number down. It is the baseline load the ground must support.
Step 2: Determine the Outrigger Pad Area
Measure the length and width of the outrigger pad. Multiply these two numbers to get the area in square meters. If the pads are circular, use the formula for the area of a circle.
Check the manual to confirm the pad dimensions. Some manufacturers use standard sizes, while others offer interchangeable pads. If you are using a different pad size than specified in the manual, you must recalculate the pressure.
Larger pads reduce the pressure per square meter. This is the primary method engineers use to lift capacity on soft ground. However, larger pads require more space and more careful placement.
Step 3: Calculate the Maximum Ground Pressure per Pad
Divide the total static weight of the crane by the total area of all four outrigger pads. This gives you the average pressure in kilopascals (kPa) or pounds per square inch (psi).
The formula is: Total Weight divided by Total Pad Area.
This is the pressure when the crane is stationary. It does not include the load being lifted. You must add the load weight in the next step.
Step 4: Add the Load and Rigging Weight to the Calculation
Take the weight of the object being lifted. Add the weight of the slings, shackles, and any rigging hardware. This is the total lifted load.
Distribute this load between the pads. The load is not always centered. It depends on the radius and the angle of the lift. The pad on the side of the load will take more weight.
A simple rule of thumb is to assume the load adds 50% of its weight to the near pad and 25% to the far pad. The front and rear pads take the remainder. For critical lifts, use the manufacturer’s load chart to find the exact distribution.
Add this distributed load to the static weight. Calculate the new pressure for the most heavily loaded pad. This is your worst-case scenario.
Step 5: Compare Calculated Pressure to Site Bearing Capacity
Take the maximum pressure calculated in the previous step. Compare it to the allowable bearing capacity of the site.
The site capacity is usually provided in a geotechnical report. It is expressed in kPa. If you do not have a report, use a soil probe to estimate it. Push the probe into the ground. The resistance you feel indicates the firmness.
A common mistake is using a single number for the whole site. Soil varies. A hard layer may be at one depth, while soft clay is at another. You must test the specific spots where the outrigger pads will sit.
If the calculated pressure exceeds the site capacity, you cannot proceed. You must modify the setup.
Step 6: Implement Ground Matting or Cribbing
If the pressure is too high, place ground mats under the outrigger pads. These are thick steel or composite plates that spread the load over a larger area.
The new area is the size of the mat, not the pad. Recalculate the pressure using the mat area. The goal is to lower the pressure below the site capacity.
Use mats on all four corners. Do not place them on only one side. Uneven support causes tilting. Ensure the mats sit flat on the ground. No rocks, roots, or debris.
Cribbing is an alternative using timber or metal blocks. It is useful when mats are not available or when the ground is extremely uneven.
Step 7: Verify Alignment and Leveling
Place the outriggers on the mats. Extend them fully. Lock the hydraulic cylinders.
Use a level to check the crane’s alignment. The boom must be parallel to the ground. A crane that is tilted reduces its capacity and increases ground pressure on one side.
Adjust the outriggers until the level reads zero. If the ground is uneven, you may need to extend one outrigger further than another. This changes the pad area and the pressure distribution. Recalculate if you change the geometry significantly.
Common Mistakes in Ground Pressure Verification
Engineers often skip steps to save time. These shortcuts lead to accidents.
One common error is using the crane’s full operating weight instead of the specific configuration weight. A boom extension adds several tons. This changes the pressure.
Another mistake is ignoring the load’s center of gravity. A long pipe shifts the weight to one side. The near pad takes much more load than a centered object would.
Soil testing is often done at the wrong depth. If you test at the surface, you may miss a weak layer underneath. Test at the depth where the outrigger pads will sit.
Finally, operators often forget to recheck after rain. Water saturates the soil and reduces its capacity. A site that was safe yesterday may be unsafe today.
Final Verification Step: Load Test at Low Height
Before lifting the full load, perform a test lift. Raise the load one meter off the ground. Hold it there for one minute.
Watch the outriggers. Look for movement, sinking, or cracking in the mats. Watch the boom. It should remain steady.
If the ground shifts, lower the load immediately. Do not attempt another lift until the ground is corrected. This step catches problems that calculations miss. It confirms that the real-world conditions match the paper numbers.
If the test lift is successful, proceed with the main lift. Keep the load within the capacity chart limits. Do not lift heavier than calculated.
| Condition | Action Required |
|---|---|
| Pressure below site capacity | Proceed with standard setup |
| Pressure exceeds capacity | Use ground mats or cribbing |
| Uneven ground | Use leveling blocks or extend outriggers |
| Soft or wet soil | Re-test bearing capacity and add mats |
| Load not centered | Recalculate pad distribution and adjust |
Frequently asked questions
How do I know if the ground is too soft for a mobile crane?
If a soil probe sinks more than a few centimeters with light pressure, the ground is likely too soft. You should use ground mats or cribbing.
Can I use concrete blocks instead of steel mats?
Yes, if they are large enough and strong enough to spread the load. They must sit flat and not crack under the weight of the crane.
Does rain affect ground pressure calculations?
Yes. Water reduces the bearing capacity of soil. You must re-test the ground after rain or heavy irrigation.
How often should I check the ground bearing capacity?
Check it before every lift if the site conditions change. If the ground is stable and dry, a weekly check is usually sufficient.
What if the crane manual does not list ground pressure limits?
Contact the manufacturer. They can provide the specific pressure values for your model and configuration. Do not guess.