Lifting Capacity: Why Crane Charts Vary by Model
Manufacturer crane charts vary because lifting capacity changes with boom length, load radius, counterweight, and setup. Engineers must match site geometry and rigging weight to the specific configuration to ensure safety and prevent overload.
- Crane capacity charts are specific to a single boom length, counterweight configuration, and ground setup.
- Load radius is the horizontal distance from the pivot point to the load, not the boom length.
- Counterweight changes alter the maximum safe lift at any given radius.
- Always verify the chart matches the exact physical configuration on site.
- Safety officers must cross-check rigging weight and wind conditions against the chart.
Why Manufacturer Charts Differ
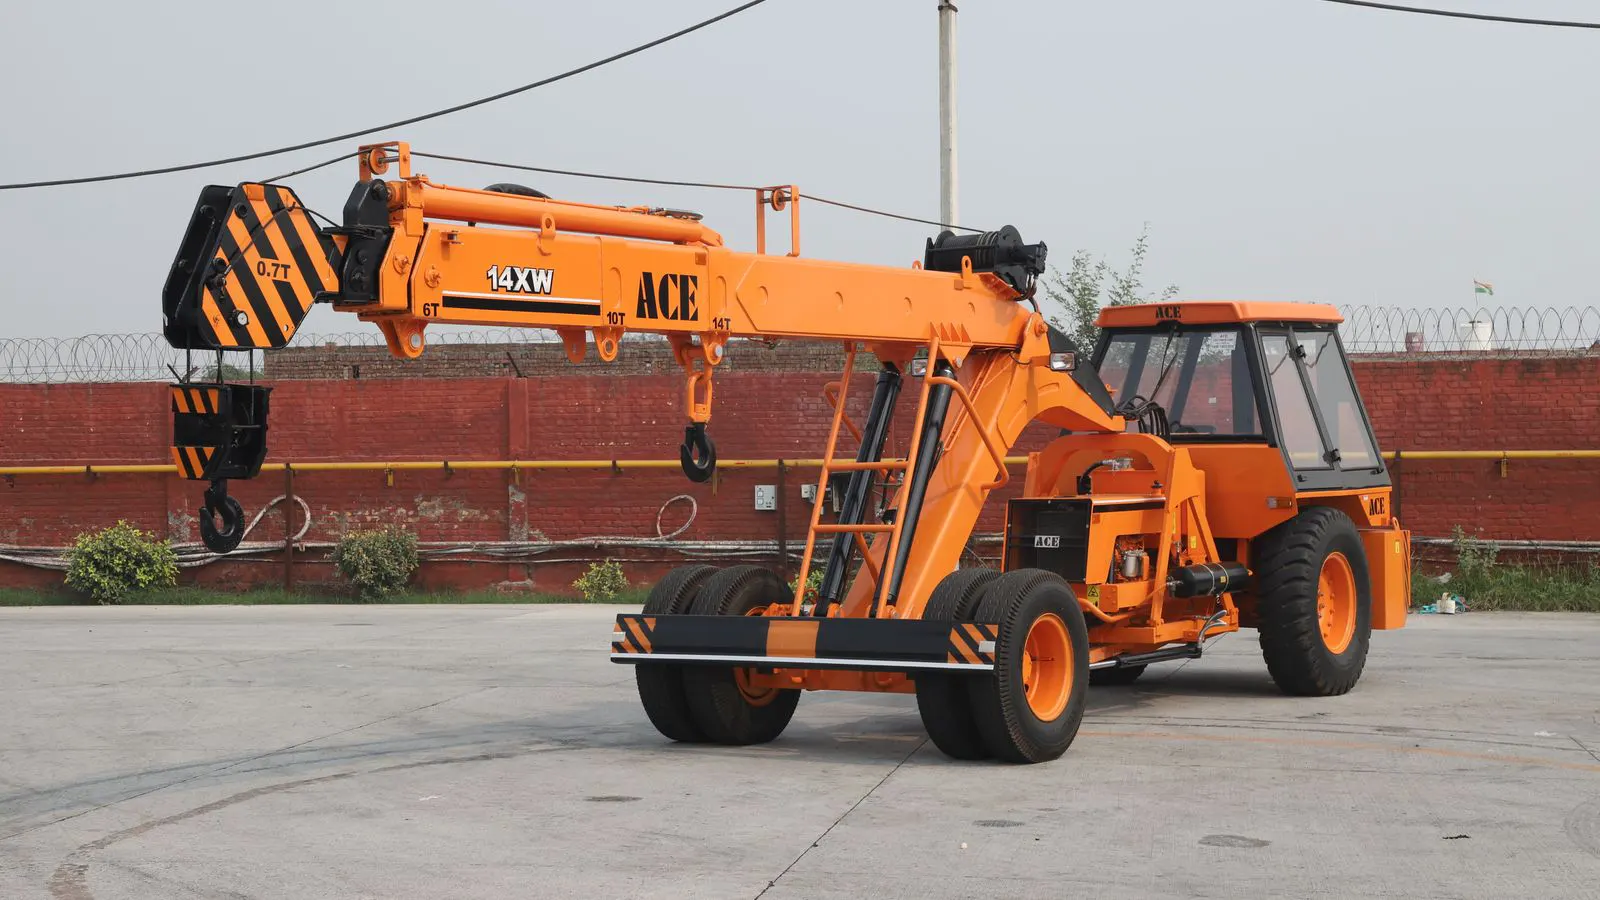
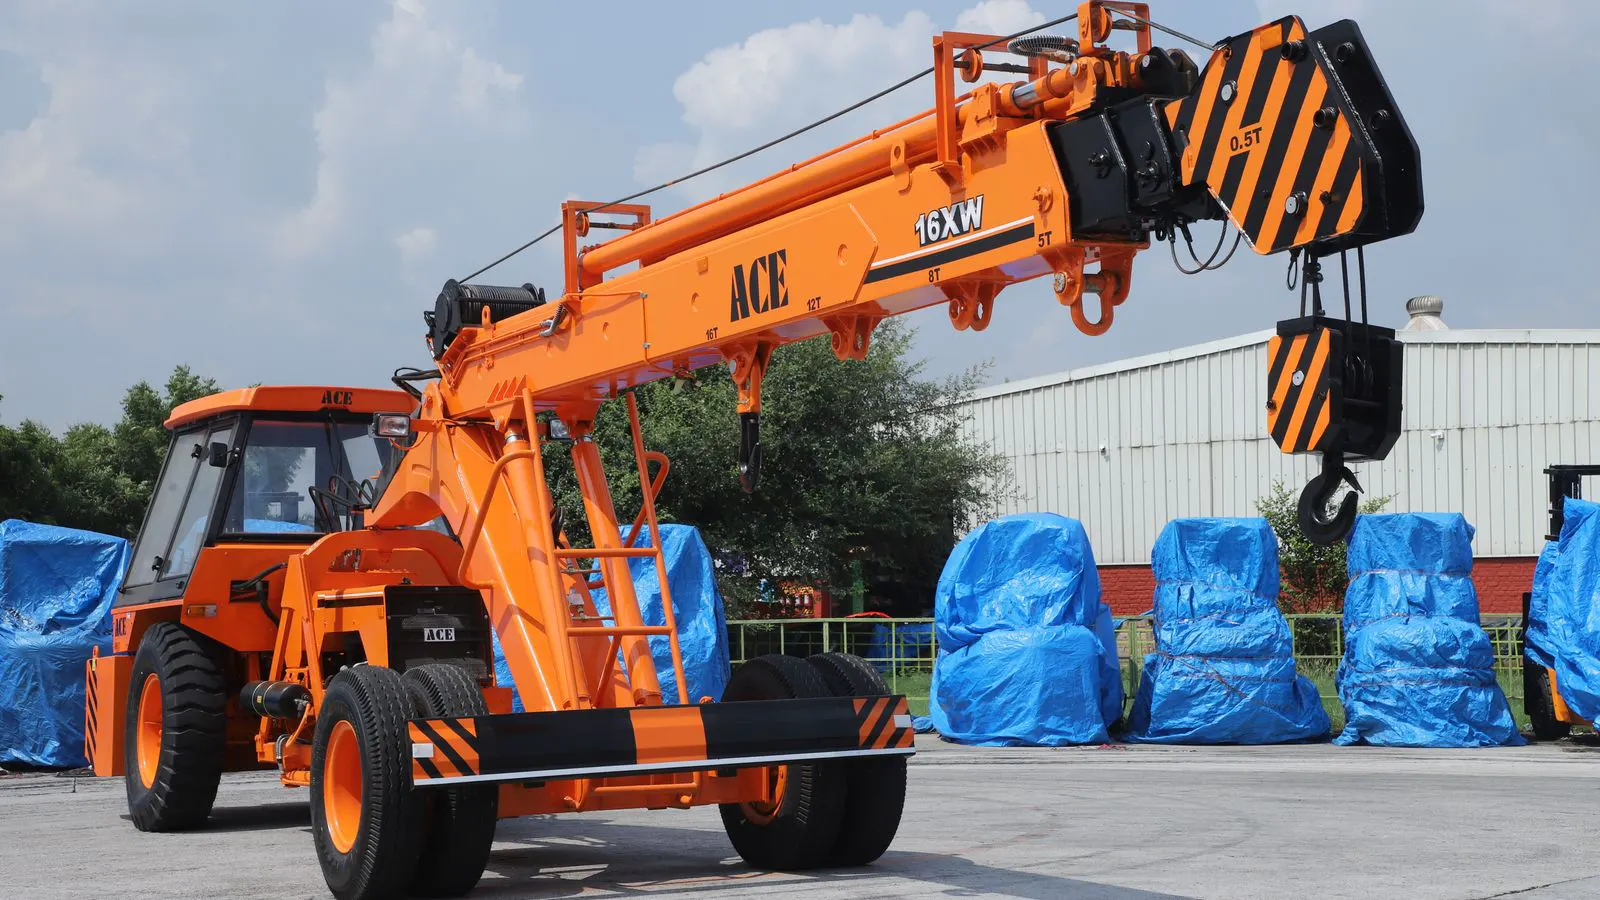
Crane capacity charts are not a single number printed on a sticker. They are a set of values tied to a specific physical configuration. When you look at a mobile crane or a tower crane, the rated lifting capacity changes based on the boom length, the counterweight attached, and the outrigger setup.
A chart for a 100-foot boom will show different numbers than a chart for a 120-foot boom, even on the same machine. This is because the longer the boom, the greater the moment arm created by the load. That moment arm pushes against the machine’s stability limit. The pivot point is the center of rotation, and the load hangs at the far end. The further that end extends from the pivot, the more use the weight gains.
Engineers and safety officers often see different capacity figures in the same model’s documentation. This happens because the documentation is split by configuration. One page covers the 80-foot boom with a 40-ton counterweight. Another page covers the 100-foot boom with a 20-ton counterweight. The machine itself is identical, but the physics change based on how the operator configures it before the lift.
The key is to identify the exact setup before reading any number. A mismatch between the physical machine and the chart page used for the lift plan creates a direct risk of overturning or structural failure. If the operator selects the chart for a shorter boom but extends the boom to its full length, the moment arm exceeds the assumptions of that specific data page. The machine may still hold the load at first, but the stability margin disappears.
How Load Radius Affects Capacity
Load radius is the horizontal distance from the crane’s center of rotation to the center of gravity of the load. It is not the same as the boom length.
When a boom is angled at 45 degrees, the load radius is shorter than the boom length. When the boom is nearly horizontal, the load radius is close to the boom length. The geometry of the lift determines the effective radius. If the load is hung below the boom tip, the center of gravity shifts further out, increasing the radius beyond the physical boom tip.
Capacity drops as the load radius increases. This is a physics rule, not a manufacturer preference. The further the load is from the pivot, the more torque it applies to the machine. The crane’s counterweight and outriggers fight this torque. Once the torque exceeds the stability margin, the crane tips.
In the field, operators often measure the load radius with a laser level or a dedicated app. They do not guess. A load radius error of a few feet can change the maximum safe lift significantly at longer distances. At a 30-foot radius, the tolerance for error might be acceptable. At a 100-foot radius, a 5-foot overestimate can drop the capacity limit by a ton or more, turning a safe lift into a dangerous one.
Counterweight and Jib Configuration
Counterweight is the ballast attached to the rear of the crane. It provides the counter-torque needed to keep the machine upright.
Adding counterweight increases the maximum safe lifting capacity, especially at shorter radii. Removing counterweight allows for a longer boom or a more stable setup in tight spaces, but it reduces the maximum lift. The operator must weigh these trade-offs against the specific lift requirements.
Jib configuration matters too. A lattice jib is rigid and strong but heavier. A telescopic boom is more compact and easier to transport but has a different bending moment profile. Each configuration has its own set of charts. The material and structure of the boom affect how the load is distributed along its length.
Sourcing decisions depend on these trade-offs. If you need to lift heavy steel beams at a short radius, you may prioritize maximum counterweight and a shorter boom. If you need to reach across a congested site, you may accept a lower capacity in exchange for a longer, more flexible boom. The choice is not about which machine is better, but which configuration matches the job.
Worked Example in Plain Words
Imagine a mobile crane on a flat, prepared pad. The operator selects a 90-foot boom. The rear counterweight is set to the standard heavy configuration. The outriggers are fully extended and the pads are on solid ground.
The load is a steel girder. The load radius is 60 feet. The operator checks the chart for the 90-foot boom, heavy counterweight, and 60-foot radius. The chart shows a maximum lift of 10 tons.
Now, the operator moves the load closer to the crane. The load radius drops to 40 feet. The same chart, same configuration, now shows a maximum lift of 25 tons.
The physical load has not changed. The crane has not changed. The only thing that changed is the distance. The capacity doubled because the torque decreased. This is why the load radius is the primary variable in every lift plan. If the site layout forces the load to remain at 60 feet, the operator must find a different crane or a different configuration.
Reading the Chart Correctly
A standard crane chart has columns for load radius and rows for capacity. Some charts also include lines for boom angle or boom length.
To read it correctly, you must find the intersection of your actual load radius and your actual boom configuration. If the load radius falls between two columns, use the lower capacity value. Never interpolate upward.
The chart usually includes a note that the capacity assumes a specific sling angle or rigging weight. If you use a 100-degree sling angle instead of 60 degrees, the effective load at the hook increases. You must subtract the rigging weight from the chart value before calculating the lift.
Many charts also have a “maximum capacity” line and a “working capacity” line. The maximum capacity is for the first few radii. The working capacity applies to the rest of the range. Safety officers should use the working capacity for all routine lifts.
Safety Checks and Common Mistakes
The most common mistake is using the wrong chart page. The machine is the right model, but the boom length or counterweight is different from the one selected.
Another mistake is ignoring wind. Charts are usually based on still air conditions. If wind speeds exceed a certain threshold, the effective capacity drops or the lift must stop.
A third mistake is failing to account for the load’s center of gravity. If the load is unbalanced, the torque on one side of the crane increases. This can cause tipping even if the total weight is within the chart limit.
Safety checks should include verifying the ground bearing, checking the outrigger pads, and confirming the chart version matches the machine’s serial number. A single mismatched page can turn a safe lift into a catastrophic failure.
Impact on Sourcing and Procurement
When sourcing a crane, the buyer must specify not just the model, but the configuration. A request for a “50-ton crane” is vague. A request for a “50-ton mobile crane with a 100-foot boom, heavy counterweight, and 4-wheel drive” is specific.
The configuration affects the purchase price, the rental rate, and the transport logistics. A longer boom may require a larger transport trailer. A heavier counterweight may require a stronger truck chassis.
Procurement teams should ask for the full chart set for each configuration. They should match the site drawings to the chart geometry. If the site has a tight radius, the crane must be configured to handle that radius without exceeding its capacity limit.
Frequently asked questions
Can I use the same crane chart for different boom lengths?
No. Each boom length has its own set of capacity values. Using the wrong chart can lead to an unsafe lift.
How does counterweight change the lifting capacity?
More counterweight increases the maximum safe lift at shorter radii. Less counterweight reduces the lift but allows for longer booms or tighter setups.
What is the difference between boom length and load radius?
Boom length is the physical length of the arm. Load radius is the horizontal distance from the pivot to the load. They are only equal when the boom is horizontal.
Do I need to account for rigging weight in the chart?
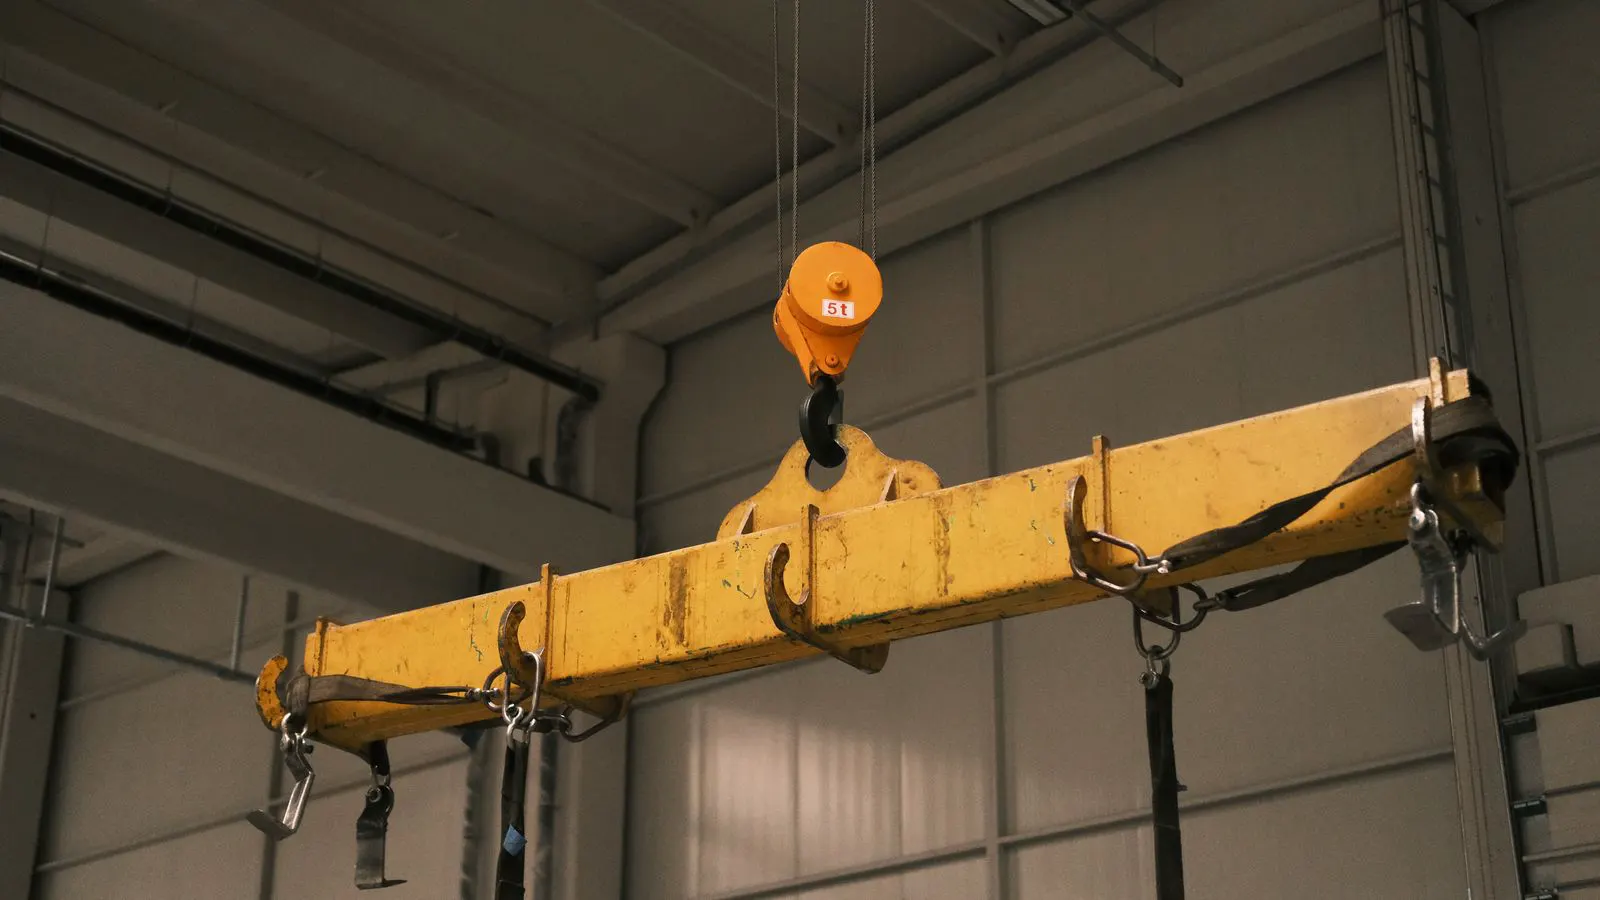
Yes. Subtract the weight of the slings, shackles, and spreader bar from the maximum chart capacity to find the true maximum load.
What should I do if the load radius is between two chart columns?
Always use the lower capacity value from the smaller radius column. Do not estimate or interpolate upward.