How to Size Wheel Loaders for Aggregated Stockpile Operations
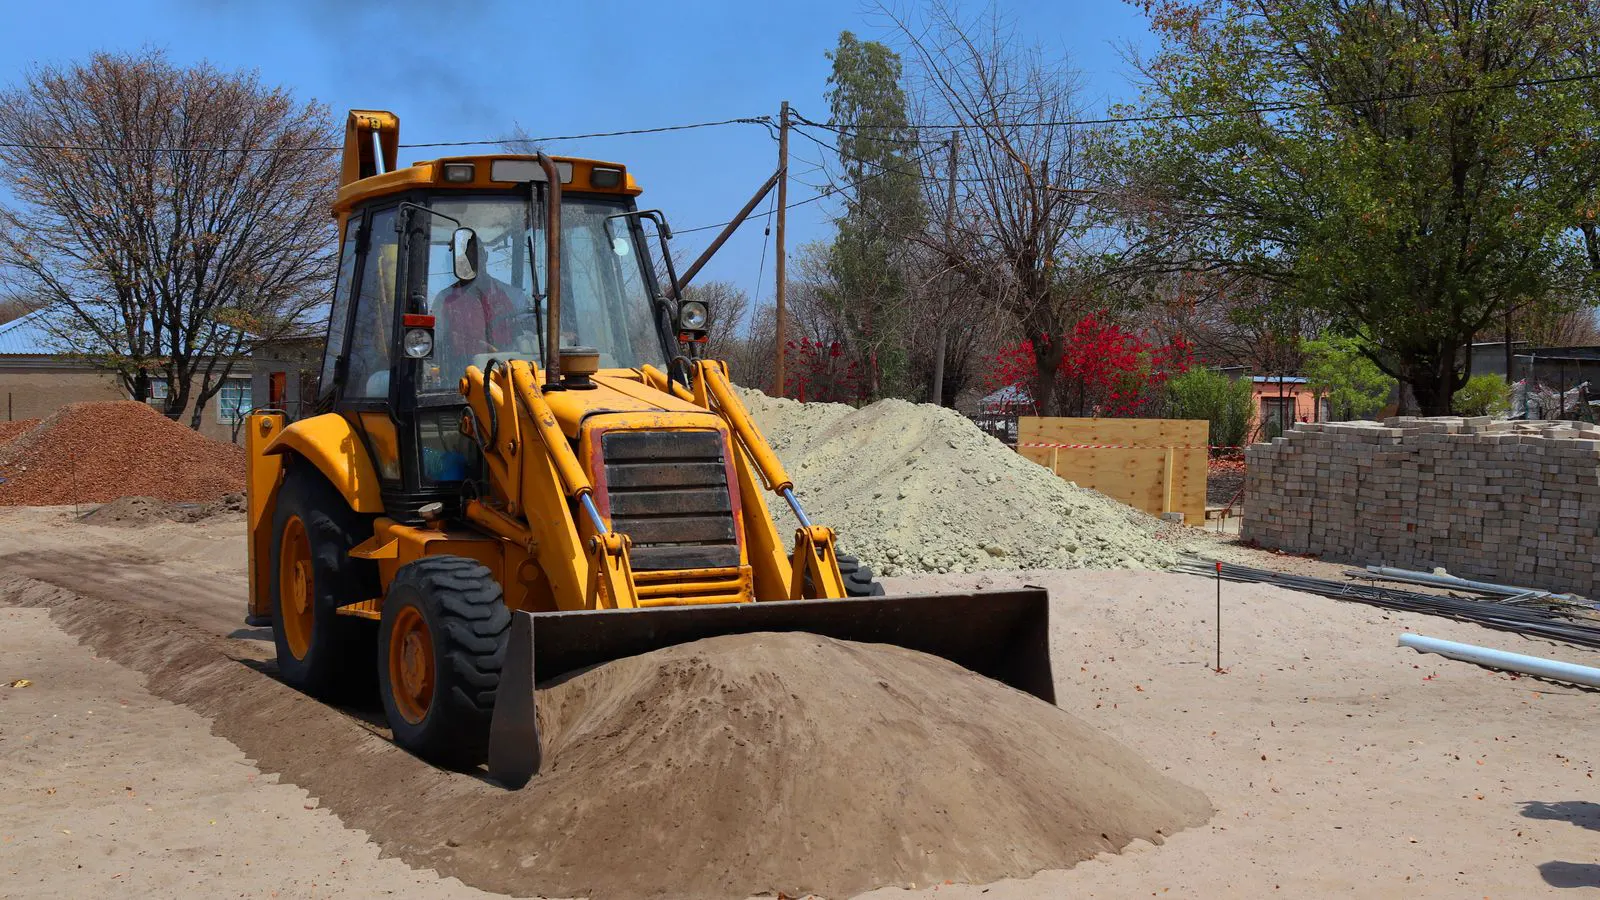
Proper wheel loader sizing depends on matching rated capacity to your aggregate handling volume. The process involves calculating daily production, estimating cycle time, and selecting the right bucket size to maintain steady stockpile operations.
- Match rated payload to daily aggregate production targets to avoid underloading or excessive cycle time.
- Account for material density and stickiness when selecting bucket size for aggregate handling.
- Factor in travel distance and stockpile geometry to ensure the loader completes a full cycle efficiently.
- Verify final capacity against site constraints and operator preferences before committing to a purchase.
- Reassess loader capacity if aggregate mix or processing volume changes significantly.
Why Wheel Loader Sizing Matters for Stockpile Operations
Wheel loader sizing determines whether your aggregate operation runs smoothly or stalls at the stockpile. A loader that is too small forces multiple short trips per cycle, increasing fuel burn and wear. A loader that is too large may struggle in confined yards and leave the stockpile uneven.
The goal is a machine that matches the volume of material you process each day with a realistic cycle time. This guide walks through the practical steps used by operations managers and equipment buyers to select the right capacity.
Prerequisites Before You Start Sizing
Before calculating capacity, gather a few baseline numbers. These data points drive every decision in the sizing process.
- Daily aggregate production target in metric tons or short tons.
- Material density for the specific aggregate type.
- Travel distance from the stockpile to the loading point.
- Stockpile height and width at the working face.
- Shift length and number of operating hours per day.
- Whether the loader will also handle fines, crushed stone, or a mix of both.
Without these numbers, any capacity guess will be unreliable.
Step 1: Calculate Daily Aggregate Volume in Tons
Start with your production plan. If your processing line runs at a certain tons per hour, multiply by operating hours to get daily output. For example, a plant processing 120 tons per hour for an 8-hour shift needs to move 960 tons of aggregate per day.
This number is the anchor for all later calculations. If you do not have a firm production target, use the highest realistic volume you expect to handle. Do not size for a best-case scenario that may never materialize. Consider seasonal peaks. A plant that runs at 80 tons per hour in winter might require 130 tons per hour in summer. Sizing for the winter average will leave you short during the summer rush.
Step 2: Determine Material Density for the Specific Aggregate
Aggregate density varies by type. Crushed granite, limestone, sand, and gravel each have different tonnage per cubic meter. A loader rated for a certain cubic foot capacity will carry different weights depending on what it scoops.
For dry, free-flowing crushed stone, density is typically higher than for fine sand or wet material. If your stockpile contains a mix, use a weighted average. This step converts volume capacity into payload capacity, which is what the operator and the loading equipment actually see.
A common error is to rely on nominal bucket volume alone. A 4-cubic-meter bucket carrying dense crushed granite carries significantly more weight than the same bucket carrying loose, wet sand. Always check the specific gravity of your material. If your aggregate is wet, the density increases, but the material may also stick to the bucket, reducing the effective load.
Step 3: Estimate Cycle Time for One Full Load
A cycle includes digging the load, traveling to the discharge point, dumping, and returning to the stockpile. Measure the actual distances on your site. A 30-meter round trip changes the math significantly compared to a 60-meter trip.
Include the time for the bucket to fill and the time to dump. Do not assume ideal conditions. Real yards have uneven ground, operator breaks, and occasional equipment jams. Add a buffer to your measured cycle time.
A practical way to estimate cycle time is to break it down into four components:
- Digging time: How long it takes to fill the bucket to the rated depth.
- Travel time: Time to move from the stockpile to the discharge point.
- Dumping time: Time to position the bucket and release the load.
- Return time: Time to get back to the stockpile and reset for the next dig.
If your travel distance is 40 meters one way, the round trip is 80 meters. At an average speed of 10 km/h, the travel time is roughly 4.8 minutes round trip. Add 2 minutes for digging and 1 minute for dumping, and you have a 7.8-minute cycle. In 8 hours, that is about 61 cycles.
Step 4: Choose a Rated Capacity That Meets the Daily Target
Divide your daily tonnage by the number of cycles you can complete in a shift. That gives you the payload per load you need. For instance, if you need 960 tons per day and can complete 120 cycles in 8 hours, each cycle must move 8 tons.
Compare that number to the rated payload of available wheel loaders. Rated payload is the weight the machine can carry on the bucket at the rated lift height. It is not the same as the bucket volume. Check the manufacturer’s specification sheet for the exact rated payload under standard conditions.
The rated payload depends on the machine’s weight, the bucket geometry, and the lift height. A loader with a larger bucket may have a lower rated payload if the bucket is too heavy for the machine’s lifting capacity. Always verify the payload for the specific bucket you plan to use.
If the calculated payload per load is 8 tons, you might look at a loader with a rated payload of 8 to 10 tons. This gives you a small margin for errors in your cycle time estimate.
Step 5: Select the Right Bucket Shape for the Material
Not all buckets perform equally in aggregate. A straight-edge bucket works well for dense, free-flowing stone. A curved-edge bucket helps with sand and fine material that tends to hold in the bucket. A toothed bucket can handle larger, irregular crushed rock.
Match the bucket shape to your primary material. If your stockpile contains a mix, choose the bucket that handles the stickier or finer component well. A poorly shaped bucket wastes a cycle on incomplete loads, which throws off your entire sizing calculation.
A toothed bucket is effective for breaking up larger rocks, but it can also create more dust and noise. A straight-edge bucket is smoother and quieter, but it may not fill as cleanly in sticky material. A curved-edge bucket is a good compromise for mixed materials. It helps the material release from the bucket, reducing the time needed for dumping.
Consider the wear pattern. Toothed buckets wear faster in abrasive materials. If you are handling granite or other hard aggregates, a toothed bucket may need replacement more often. Factor this into your total cost of ownership.
Step 6: Check Travel Distance and Stockpile Geometry
The stockpile itself changes how the loader works. A tall, narrow stockpile forces the machine to dig deeper and lift higher, which reduces effective payload. A low, wide stockpile allows easier scoops but may require more travel to reach the material.
Measure the stockpile height and the distance from the digging face to the discharge point. If the stockpile is taller than the loader’s effective digging height, the operator will work at a reduced capacity. This is a common mistake that makes a properly sized loader feel undersized.
A tall stockpile also creates a safety concern. The operator may need to work at the edge of the pile, where the ground is unstable. A low, wide stockpile is easier to work with and safer, but it may require more frequent repositioning of the loader.
Consider the shape of the stockpile. A conical pile is common, but it requires the loader to move around the base. A rectangular pile is easier to dig from one face, but it may require the loader to move further to reach all the material.
Step 7: Add a Capacity Margin for Real-World Conditions
Do not select a loader that exactly meets your minimum requirement. Add a margin for wet material, fines, and operator variability. A 10 to 15 percent buffer is common in practice.
This margin protects you from the day when the aggregate is wetter than expected or the stockpile is shaped poorly. Without it, your production target slips and the operation feels sluggish.
The margin also accounts for operator skill. A new operator may take longer to dig a full load than an experienced one. A 10 percent buffer can cover this difference. If you have a consistent, experienced operator, you may need less buffer. If you have rotating operators, you may need more.
Step 8: Verify Against Site Constraints and Operator Comfort
A loader that is technically oversized for the yard may be a poor fit. Check the turning radius, door width, and overhead clearance. A machine that cannot turn in the loading area or fit through the site gate will create bottlenecks.
Talk to the operator. If the cab is too low or the controls are awkward for the specific bucket, cycle times will increase. Operator comfort directly affects productivity in aggregate work.
Check the ground conditions. If the yard has soft ground, a larger machine with wider tracks or larger tires may be better, even if it is not the most efficient for loading. If the ground is hard and compacted, you can use a standard loader.
Consider the noise level. If the site is near a residential area, a quieter machine may be required. A larger machine may be noisier, which can limit your operating hours.
Common Mistakes in Wheel Loader Sizing
- Ignoring material density and sizing only on bucket volume.
- Assuming a flat, ideal stockpile when the site has uneven ground.
- Forgetting that wet aggregate reduces effective payload.
- Selecting a machine based on price without checking rated payload.
- Not accounting for the time to dump at the discharge point.
- Overlooking the need for a larger bucket to handle fines in the stockpile.
Each of these errors can leave you with a machine that looks right on paper but underperforms in the yard.
A common mistake is to buy the cheapest machine that meets the minimum capacity. This can lead to higher fuel costs, more wear, and shorter machine life. A slightly larger machine may be more efficient in the long run.
Another mistake is to ignore the bucket shape. A machine with the right capacity but the wrong bucket will not perform as expected. Always match the bucket to the material.
Final Verification Step: Run a One-Day Simulation
Before committing, walk through a full day of work with the selected loader. Calculate the number of cycles needed to hit your daily target. Add the buffer. Check that the operator can complete the cycles without excessive fatigue.
If the math holds, proceed. If it does not, adjust the capacity, bucket size, or shift plan. This simulation catches errors that static calculations miss.
A practical simulation involves listing each hour of the shift and estimating the number of cycles completed in that hour. For example, in the first hour, the operator may be setting up the machine and adjusting the stockpile. This may reduce the number of cycles. In the second hour, the operator may be working at full capacity. In the last hour, the operator may be cleaning up and preparing for the next shift.
This level of detail helps you understand the real-world performance of the machine. It also helps you plan for maintenance and breaks. If the operator needs a 15-minute break every 2 hours, you need to account for that in your cycle time calculation.
Quick Reference: Capacity Matching for Common Aggregate Volumes
| Daily Aggregate Volume (tons) | Typical Rated Payload (tons) | Notes |
|---|---|---|
| Up to 400 | 5 to 8 | Small yard, short travel, fines-heavy stockpile |
| 400 to 900 | 8 to 12 | Standard medium yard, mixed aggregate |
| 900 to 1500 | 12 to 18 | Large yard, long travel, dense crushed stone |
| Over 1500 | 18 to 25 | High-volume plant, tall stockpile, multiple loaders |
These ranges are general. Always confirm with the manufacturer’s specification for the exact machine and bucket configuration.
Frequently asked questions
How do I know if my wheel loader is too small for the stockpile?
If the operator completes fewer cycles per hour than your target and the stockpile face is not being cut evenly, the machine is likely undersized.
Does the bucket shape change the rated payload?
Yes. A different bucket shape changes the fill factor and the weight carried at a given volume. Always check the rated payload for the specific bucket you plan to use.
Can I use the same wheel loader for both coarse stone and fine sand?
You can, but the bucket may need to be swapped. A curved-edge bucket handles fines better, while a straight-edge bucket is better for dense stone.
What happens if the stockpile is taller than the loader can dig?
The operator works at a reduced capacity because the bucket cannot fill completely. This lowers the effective payload per cycle and slows production.
How much buffer should I add to the calculated payload?
A 10 to 15 percent buffer is common for aggregate work. Adjust upward if your material is wet or sticky.