Pre-Start Checklist for Excavator and Loader Safety

A daily pre-start inspection prevents breakdowns and protects operators. This checklist covers fluids, tires, tracks, hydraulics, and controls. It helps crews identify faults early and maintain safe, compliant operation of heavy machinery.
- Inspect fluids, tires, tracks, and hydraulics before the engine starts.
- Test all controls, alarms, and warning lights with the machine in a neutral position.
- Document defects immediately and tag the unit out of service if a safety issue appears.
- Keep the checklist on site so every operator follows the same routine.
- A five-minute pre-start check reduces the risk of minor faults becoming major accidents.
Why a Pre-Start Check Matters for Site Equipment
A pre-start check is the first line of defense against mechanical failure and operator injury. Most breakdowns and near-miss events trace back to small defects that were visible but ignored. A missing hose clip, a cracked track link, or a leaking hydraulic line may not stop the machine on day one. By day three, the same issue can lock the boom, drop a load, or strand the crew on a site.
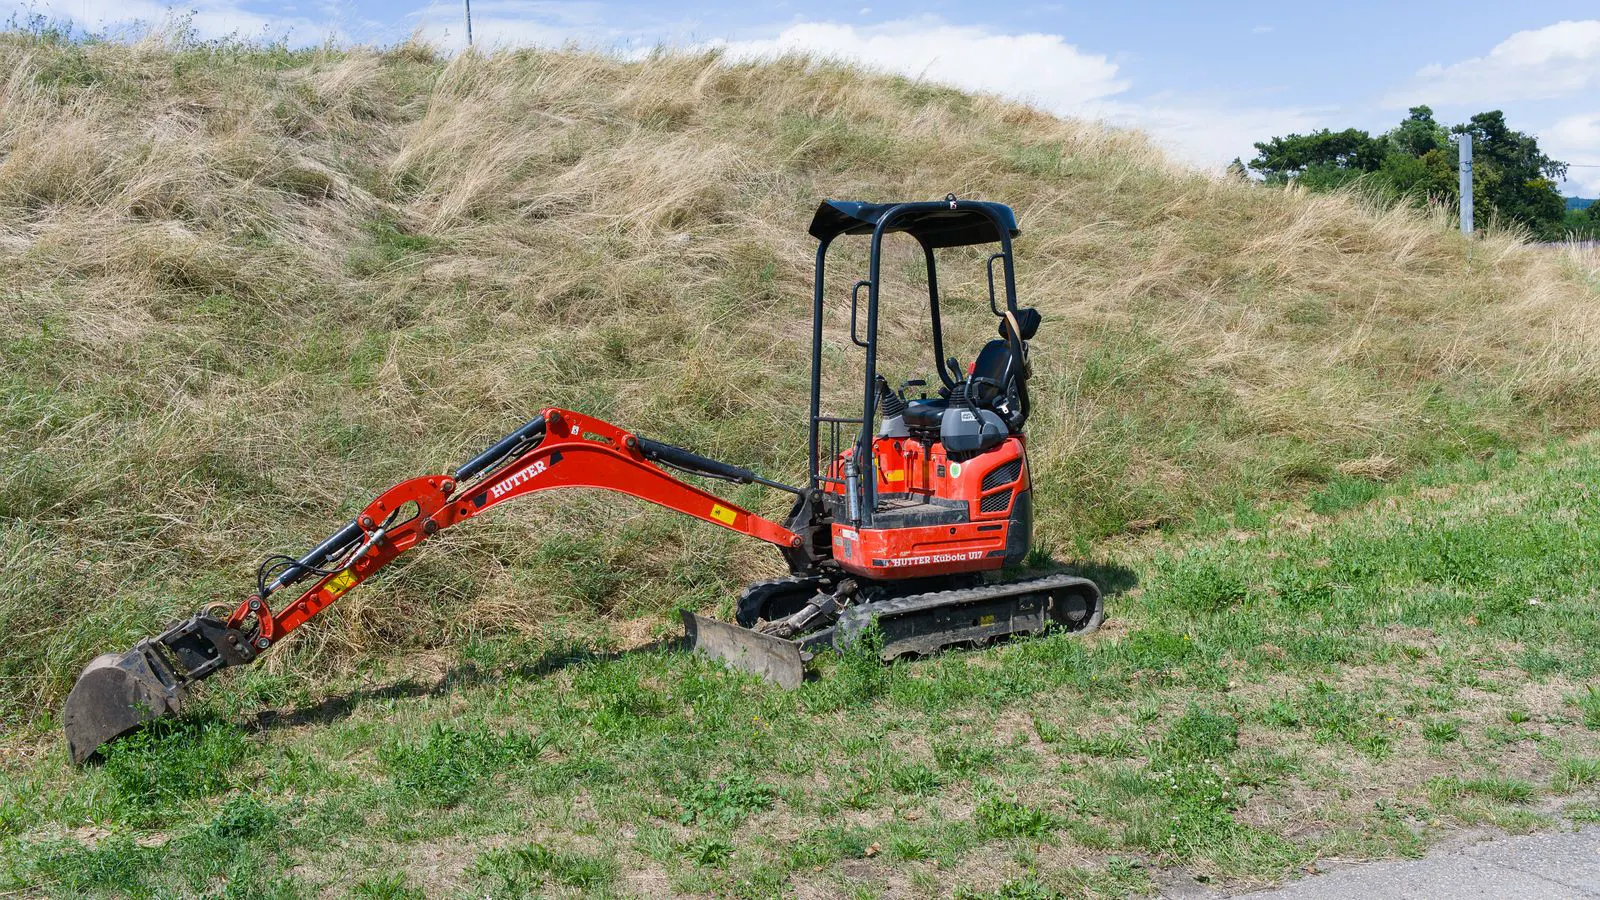
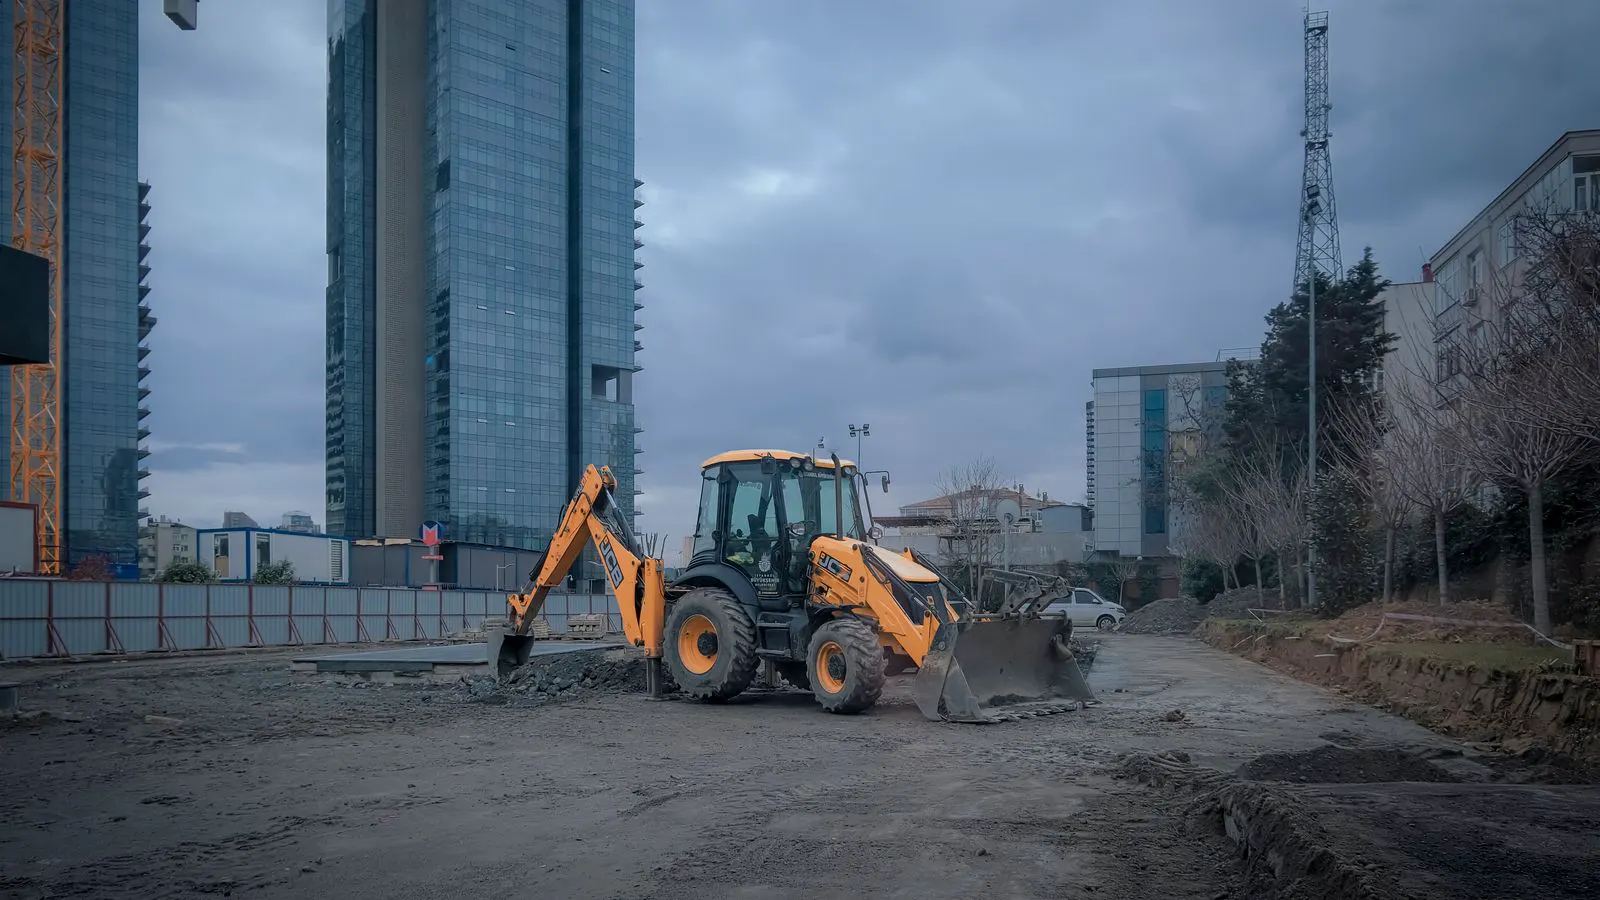
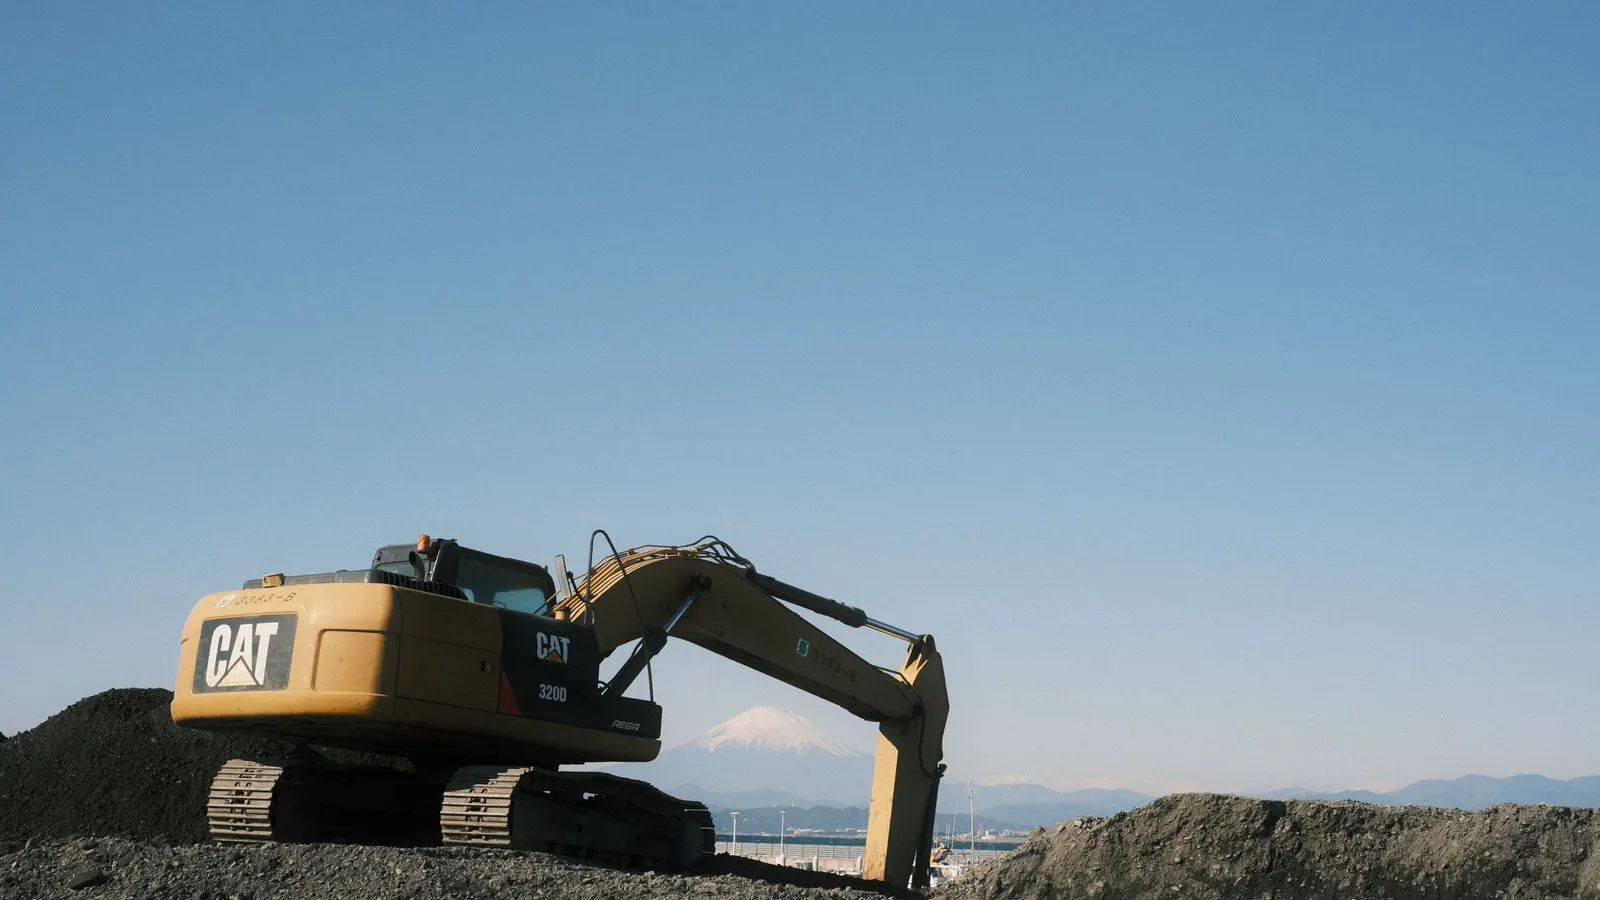
This checklist works for both excavators and wheel loaders because both machines share core systems. The engine, hydraulics, undercarriage, and operator station all demand daily attention. The differences matter, though. Track machines need link and pad inspection. Wheel loaders need tire pressure and wheel hub checks. The routine below covers both.
Fluid Levels and Leaks
Start with the engine bay. Check the engine oil dipstick with the machine on level ground and the engine off for at least ten minutes. The oil level should sit between the min and max marks. Low oil can cause bearing damage within hours of operation. Top it up before starting if it is low, and log the reason.
Check the coolant reservoir next. The level should be between the cold and hot marks. A coolant leak often appears as a crusty residue around the radiator, hoses, or water pump. White smoke from the exhaust can indicate head gasket failure. A green or orange puddle under the machine is a coolant leak. Stop work and isolate the unit.
Hydraulic fluid is the lifeblood of the digging or loading function. Check the hydraulic tank level. Many tanks have a sight glass or a dipstick. The level should be within the marked range. Low hydraulic fluid causes the pump to draw air. Air in the system leads to slow movement, spongy controls, and overheating.
Walk around the machine and look for wet spots. Fresh oil is bright and shiny. Old oil is dark and dull. Check the hose ends, cylinder rods, and the area around the hydraulic pump. A small drip is acceptable. A steady stream or a wet patch on the ground is not. Note the location of any leak on the checklist. A leak on a boom cylinder can drop the arm during a lift. A leak on a steering cylinder can cause a loss of control in a wheel loader.
Undercarriage: Tracks and Tires
For excavators, the undercarriage is the most exposed part of the machine. Inspect the tracks first. Look for missing or damaged track links. A broken link will not hold under load. Check the track width. If one side is wider than the other, the track is slipping on the drive sprocket. That slipping wears the drive sprocket and the track shoes.
Check the track tension. The track should sag slightly between the rollers. If it is too tight, the rollers overheat. If it is too loose, the track can jump off the rollers. A jumped track can jam the idler and stop the machine. Adjust tension to the manufacturer specification.
Inspect the track pads. Look for cuts, cracks, or missing lugs. Damaged pads wear the rollers and idlers. They also reduce grip on soft ground. A machine on a soft site with worn pads will dig in and stall.
For wheel loaders, inspect the tires. Check the pressure with a gauge. Cold tire pressure is the correct reference. Hot tires read higher. Do not adjust pressure on hot tires. Look for cuts, bulges, and embedded objects. A puncture can cause a blowout during a full-speed turn on a site.
Check the wheel hubs. Look for oil seepage around the hub bolts. A leaking hub can destroy the brake system. Inspect the tires for uneven wear. One side worn more than the other indicates a alignment issue or a bent axle.
Hydraulics and Structural Integrity
Walk the machine and look for hydraulic hoses. Check for abrasion, chafing, and cracked covers. Hoses that rub against the boom or the arm wear through. A hose failure can spray hot hydraulic fluid at high pressure. That fluid penetrates skin and causes severe burns.
Check the hydraulic cylinders. Look for bent or scored cylinders. A scored cylinder will not seal. It will leak and lose pressure. Inspect the cylinder rods for rust and pitting. Pitted rods are a sign of contaminated hydraulic fluid. The fluid may have been contaminated with soil or water.
Look at the boom, arm, and bucket. Check for cracks, weld repairs, and deformation. A cracked boom can fail during a heavy lift. The stress points are the gussets and the connection lugs. These areas see the most cyclic loading. A small crack can grow fast under repeated digging.
For loaders, check the bucket teeth and the mounting bolts. Worn teeth dig less efficiently. Loose mounting bolts can shift the bucket during a swing. A shifted bucket can drop a load or strike an operator. Tighten bolts to specification. Replace teeth that are worn below the recommended length.
Operator Station and Controls
Before starting the engine, sit in the operator station. Check the seat, harness, and footrests. The harness should hold the operator securely. A loose harness can throw the operator during a sudden stop or a roll-over.
Check the seat belt. It should not be frayed or stretched. A weak belt does not protect in a rollover.
Check the controls. Move each stick and lever through its full range of motion. The controls should feel firm, not spongy. A spongy control can indicate air in the hydraulic lines or a worn pump.
Test the neutral position. The machine should not move when the controls are in neutral. If the machine creeps forward or backward, the brake or the transmission is faulty. Stop work and tag the unit.
Check the horn, backup alarm, and warning lights. The horn should be audible. The backup alarm should sound when the machine reverses. Warning lights should illuminate when the corresponding function is active. A silent horn or alarm removes a critical safety warning.
Check the mirrors and cameras. The mirrors should be clean and correctly adjusted. The cameras should show a clear view of the rear and sides. Dirty or blocked cameras create blind spots. An operator who cannot see a worker behind the machine is in danger.
Safety Devices and Site Conditions
Check the seatbelt warning light. It should illuminate when the operator is not buckled up. It should go off when the belt is fastened. A faulty warning light may allow the operator to sit unbuckled during operation.
Check the rollover protection structure. Look for cracks, dents, or loose bolts. The rollover structure is the last barrier between the operator and the ground. A compromised structure fails in a rollover.
Check the ground conditions. A pre-start check is not just about the machine. It is about the site. Look for soft spots, trenches, and buried utilities. A machine on unstable ground can tip. A machine that strikes a buried pipe can cause a fire or a collapse.
Check the lighting. If the machine operates at night, the work lights and the headlamps must be functional. Dim lights or a failed lamp reduces visibility. An operator working in low light is at higher risk of striking a worker or an obstacle.
Documentation and Defect Management
A checklist is only useful if it is used. Keep a copy on the machine or in the site office. Every operator should sign and date the checklist. The signature confirms the operator performed the check.
Log every defect. Do not just mark a box. Write what you found and what you did about it. “Hydraulic hose leaking at boom connection” is better than “leak found.” The specific detail helps the repair technician fix the problem quickly.
Tag the machine out of service if a safety defect is found. A safety defect is any fault that can cause injury or a loss of control. A cracked boom, a failed brake, or a missing safety guard is a safety defect. Do not run the machine until the fault is repaired.
Use a tag that states the machine is out of service. Write the reason and the date. Keep the tag on the machine. Do not remove it until the repair is complete and the machine has been re-inspected.
A five-minute check protects the operator, the crew, and the project. It also protects the machine. A small leak fixed on day one is cheaper than a pump replacement on day ten. A small crack fixed before it grows is cheaper than a boom replacement. The pre-start check is the cheapest maintenance you can perform.
Quick Reference Table
| System | What to Check | Red Flag |
|---|---|---|
| Engine Oil | Dipstick level | Below min mark or milky appearance |
| Coolant | Reservoir level and hoses | Low level, crusty residue, white exhaust smoke |
| Hydraulic Fluid | Tank level and hoses | Low level, fresh oil puddles, spongy controls |
| Tracks | Links, pads, tension | Missing links, worn pads, excessive sag |
| Tires | Pressure, cuts, wear | Bulges, punctures, uneven wear |
| Cylinders | Rods and seals | Scored rods, leaking oil, bent cylinders |
| Controls | Range and neutral | Spongy feel, movement in neutral position |
| Safety | Horn, alarm, harness | Silent horn, frayed belt, missing light |
Frequently asked questions
How long should a pre-start inspection take?
A full walk-around and control check takes five to ten minutes. This is enough time to identify most defects before they become serious.
What should I do if I find a small leak?
Note the location and the amount of fluid. Top off the level if safe to do so. Report the leak to the maintenance team. Do not ignore small leaks.
Can I operate a machine with a minor defect?
Only if the defect does not affect safety or control. A small cosmetic scratch is acceptable. A leaking brake line or a cracked boom is not.
Who should perform the pre-start check?
The operator who will use the machine must perform the check. The operator knows the machine and the site conditions.
How often should the checklist be reviewed?
Review the checklist monthly. Update it to reflect new equipment or site conditions. Keep it current and relevant.