How to Schedule Hydraulic Oil Changes for Load Haulers
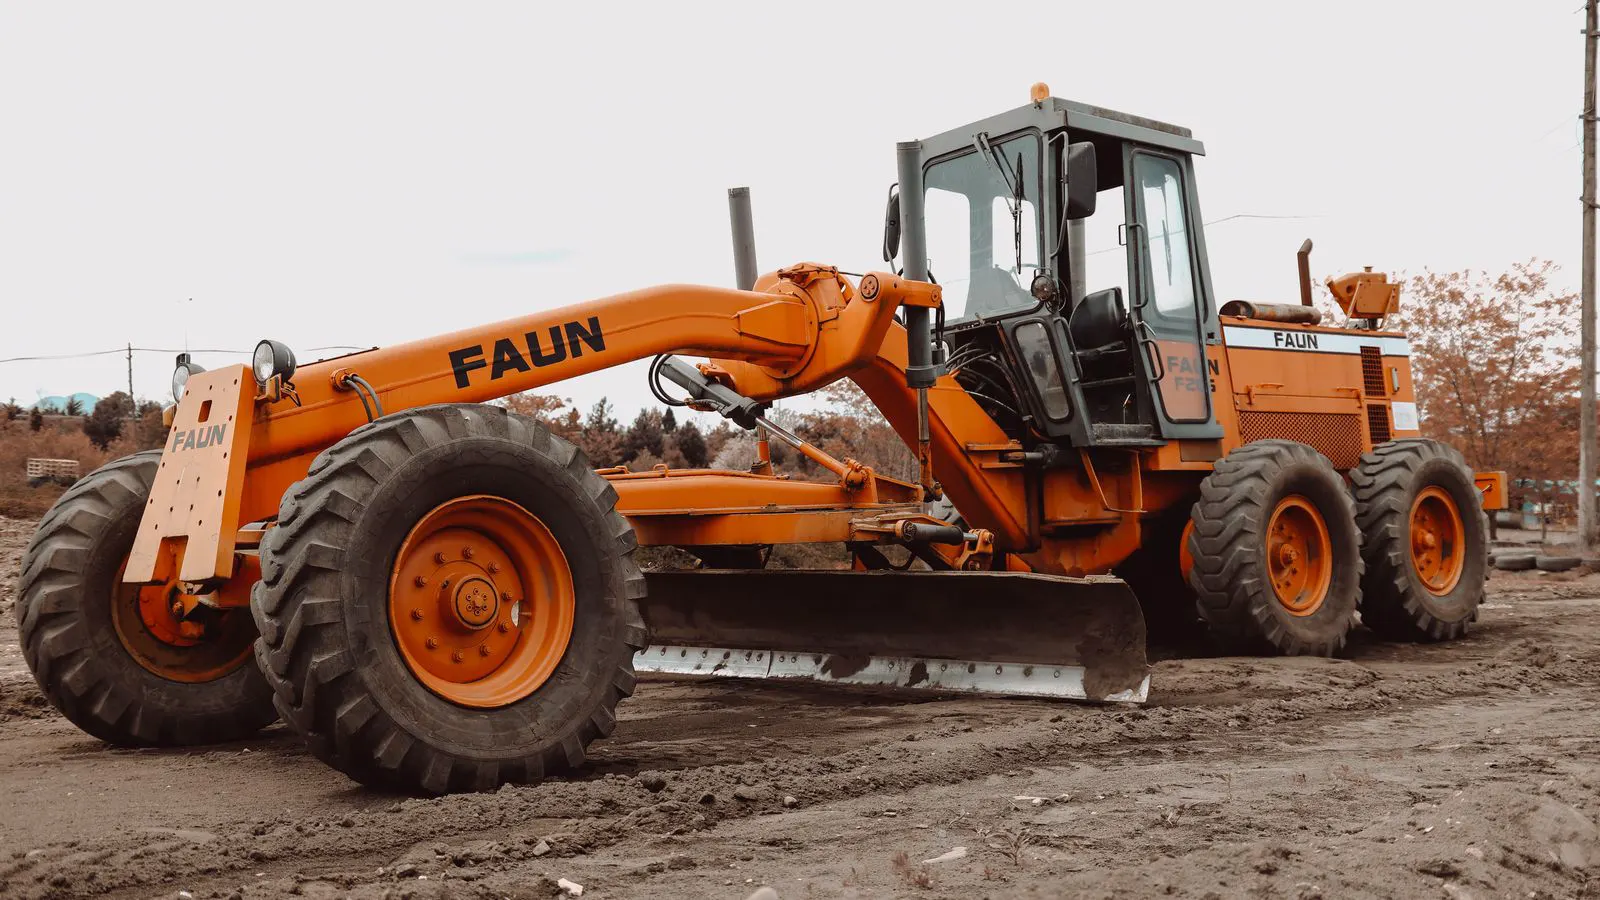
Determine hydraulic oil change intervals by matching the load hauler duty cycle to the oil, filter, and operating conditions. Use hours, fluid condition, and filter status to set a reliable maintenance schedule.
- Match hydraulic oil change intervals to the specific load hauler duty cycle, not to a generic calendar date.
- Use the load hauler hours meter and filter status to set fluid replacement points.
- Check oil condition with a dipstick, sample, or visual check before each planned change.
- Record oil temperature, filter condition, and service notes to keep the schedule consistent.
- Adjust intervals when the load hauler moves between light and heavy duty environments.
Start with the load hauler duty cycle
The load hauler duty cycle sets the baseline for hydraulic oil change intervals. A hauler that moves stone across short distances at low speeds puts less heat and wear on the hydraulic system than one that hauls heavy loads up a slope. The same model of load hauler can have very different fluid life if it runs in a quarry, a landfill, or a gravel yard.
Before setting a schedule, write down the actual daily operation. Count the hours per day. Note the load weight. Record the slope and the distance per cycle. If the machine sits idle for long periods between loads, note that too. Idle running does not use as much oil, but it can still heat the system if the engine and hydraulic pump run continuously.
The service manual gives the base interval. Use it as the starting point, not the final answer. A base interval usually assumes normal conditions. If the load hauler runs hotter, dustier, or longer, the oil degrades faster. If it runs lightly, the oil may last longer, but do not exceed the manufacturer limit without checking fluid condition.
Identify the hydraulic oil and filter set
Confirm the hydraulic oil grade and viscosity before scheduling changes. The load hauler manual lists the approved oil grades. Use the correct grade for the ambient temperature range. Lighter oil helps cold starts. Heavier oil helps heat retention in hot climates.
The filter set matters as much as the oil. The hydraulic filter holds the wear particles and moisture that enter the system. If the filter clogs early, the oil can bypass the filter or the pump can draw contaminated fluid. A new oil change with a clogged filter does not clean the system.
Write down the filter part number and the oil part number. Record the date and meter reading when the change happens. This creates a simple maintenance log. The log helps you compare intervals over time. If the filter keeps failing early, the problem may be the oil, the cooler, or the intake line.
Set the base interval from hours and conditions
Use the hours meter as the main clock. The load hauler service manual gives a base interval in hours or days. Convert any day-based interval to hours using the actual daily operating time. If the manual says every 30 days, and the hauler runs 12 hours per day, the interval is roughly 360 hours.
Adjust the base interval for heat and dust. High ambient temperature raises the oil temperature. High dust levels increase particle load. Both conditions shorten oil life. A load hauler running in hot, dusty quarry conditions may need oil changes closer to the lower end of the manual range. A hauler running in a cool, clean yard may run closer to the upper end.
Do not extend the interval just because the oil looks clear. Dark color does not always mean the oil is bad. Light color does not always mean it is good. Use the oil condition checks in the next section.
Check fluid condition before each service
Look at the hydraulic oil dipstick or sight glass before the scheduled change. Check the level first. Low level can mean a leak or overfilling during the last service. Top up only to the correct mark.
Check the oil appearance. Good hydraulic oil usually looks like a clear or slightly amber liquid. It should not look milky, which indicates water. It should not look thick or gummy, which can indicate oxidation. It should not contain visible metal particles or rubber chips.
If the oil looks wrong, take a sample. A small sample from the reservoir cap or a drain plug helps you see what is in the fluid. A lab test can show water content, acidity, and particle count. If you do not have a lab, use visual and smell checks. A burnt smell points to overheating. A sour smell points to oxidation.
Record the oil condition in the maintenance log. This gives you a trend. If the oil starts looking dark after 400 hours, the interval may need to be cut to 400 hours. If the filter stays clean for 600 hours, the interval may be safe to extend, within the manual limit.
Perform the hydraulic oil change
- Park the load hauler on level ground. Set the parking brake. Lower the boom or bucket to the ground. Turn off the engine.
Reason: This prevents the machine from moving and keeps the hydraulic system stable while you work. - Open the reservoir cap and check the oil level. Remove the cap slowly to allow pressure to vent.
Reason: Pressure can escape from the reservoir and cause splashing or burns. - Place a drain pan under the drain plug. Remove the drain plug and let the oil drain.
Reason: Draining through the plug removes the bottom of the fluid where the heaviest particles settle. - Replace the drain plug washer. Torque the plug to the manual specification.
Reason: A loose plug leaks. A cross-threaded plug can damage the reservoir. - Remove the hydraulic filter housing. Place the old filter in a sealed bag.
Reason: The filter holds the debris you want to keep from returning to the system. - Lubricate the new filter seal with the correct hydraulic oil.
Reason: This prevents seal damage during installation and ensures a tight fit. - Install the new filter. Hand-tighten first, then tighten to the manual specification.
Reason: Over-tightening can crack the housing. Under-tightening can leak. - Refill the reservoir with the approved hydraulic oil. Check the level after the pump runs.
Reason: The level changes as the oil circulates and settles. - Run the engine and cycle the hydraulic functions slowly. Check the oil level again.
Reason: This confirms the system is full and the new filter is sealed.
Common mistakes that shorten oil life
Skipping the filter during an oil change is one of the most common mistakes. The filter is the first line of defense. Without it, the pump and valves see the full load of particles.
Using the wrong oil grade is another mistake. A lighter oil in a hot load hauler may thin too much and lose film strength. A heavier oil in a cold load hauler may not flow well during startup. Both can increase wear.
Ignoring the reservoir cap seal is a quiet mistake. A loose cap lets moisture and dust into the tank. Moisture causes rust and varnish. Dust creates abrasive particles.
Not checking the cooler is a common oversight. The hydraulic cooler removes heat from the oil. If the cooler is clogged with dust or debris, the oil runs hotter. Hot oil breaks down faster. Clean the cooler during major service.
Final verification step
After the oil change, run the load hauler for a short period. Cycle the boom, bucket, and steering. Watch for leaks at the filter housing and drain plug. Check the reservoir level after the machine stops.
Record the final meter reading, oil temperature, and any observations. Update the maintenance log. Set the next service date based on the adjusted interval.
The final verification is not just about the new oil. It is about the system. If the load hauler still feels sluggish, or if the filter clogs again soon, the problem may be upstream. Check the intake line, the cooler, and the pump. A hydraulic oil change fixes the fluid, but it does not fix the machine.
Use the maintenance schedule as a living document
A maintenance schedule is not a fixed calendar. It is a working record. The load hauler hours meter, the filter condition, and the oil appearance all feed into the next interval. If the machine changes jobs, update the schedule. If the climate changes, update the schedule.
Keep the service manual, the maintenance log, and the fluid sample results together. If a new operator takes over the load hauler, they can see what happened before. That reduces the chance of a missed service or a wrong oil grade.
The goal is simple. The hydraulic oil should be clean, at the right grade, and at the right level. The load hauler should run smoothly. The filter should last the interval. If the schedule keeps failing, change the schedule. If the machine keeps failing, fix the machine.
Frequently asked questions
How often should a load hauler have its hydraulic oil changed?
Use the service manual interval as the base, then adjust for hours, heat, dust, and load. Many load haulers run in the range of several hundred hours, but the duty cycle sets the real interval.
Can I extend the hydraulic oil change interval?
Yes, if the oil condition stays clean and the filter remains healthy. Check the fluid before extending. Do not exceed the manufacturer limit without evidence from the oil and filter.
What if the hydraulic oil looks dark but the machine runs fine?
Dark oil can still be clean if it has no water, metal, or burnt smell. Check the filter and take a sample if the machine runs hot or in a dusty environment.
Do I need to change the hydraulic oil when replacing the filter?
Yes. A new filter with old oil does not clean the system. The oil carries the contamination that the filter is meant to remove.
How do I know if the load hauler is running too hot?
Check the hydraulic oil temperature during operation. If the oil temperature stays high, check the cooler, the pump relief setting, and the duty cycle. Overheating shortens oil life.